
Programming in Design
Lecture 05 – Introduction to p5.js
Edirlei Soares de Lima
<edirlei.lima@universidadeeuropeia.pt>
What is p5.js?
•
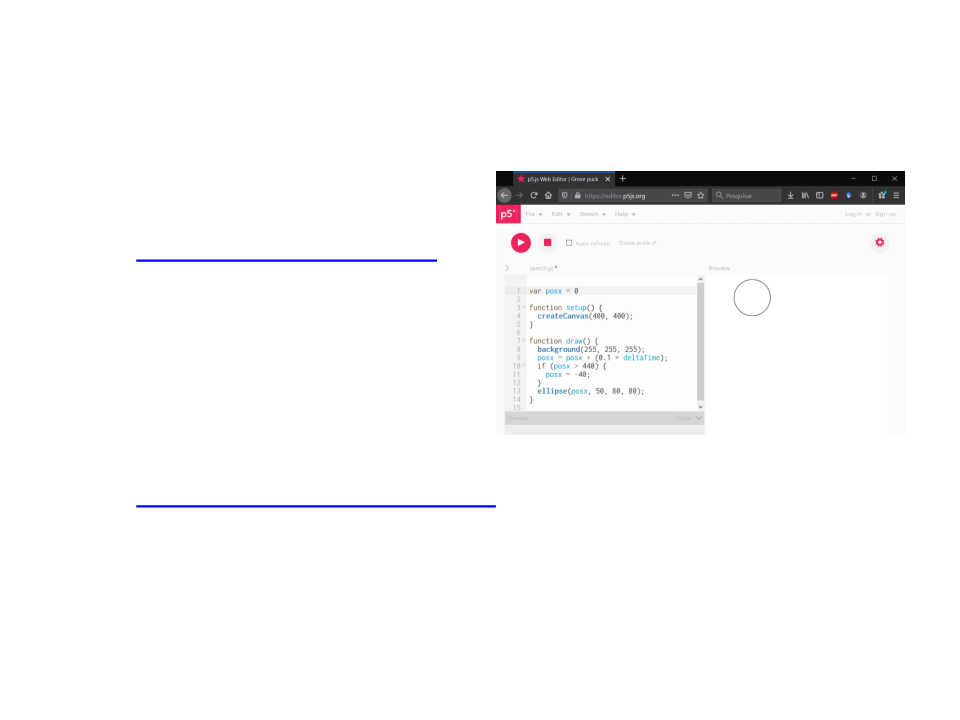
p5.js is a JavaScript library for creative coding, with a focus on
making coding accessible and inclusive for artists, designers,
educators, beginners, and anyone else.
var posx = 0
function setup() {
createCanvas(400, 400);
}
function draw() {
background(255, 255, 255);
posx = posx + (0.1 * deltaTime);
if (posx > 440) {
posx = -40;
}
ellipse(posx, 50, 80, 80);
}
Library and Editor
•
•
Online Editor:
–
https://editor.p5js.org/
Complete Library:
–
https://p5js.org/download/
Coordinate System
•
•
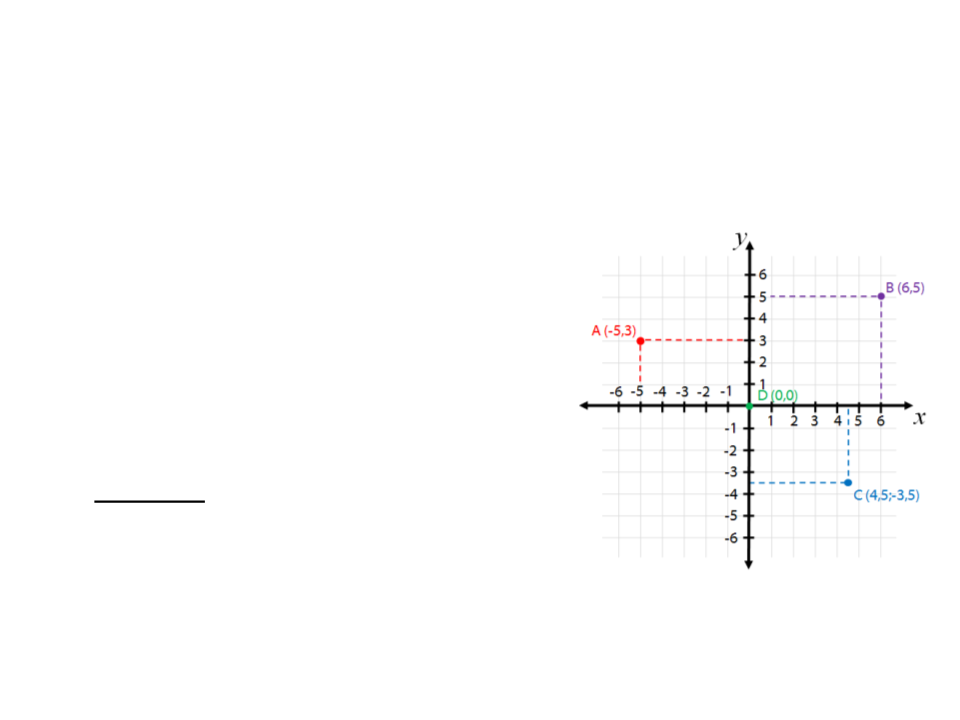
Computer graphics uses coordinate systems to represent
positions on a virtual scene.
There are usually:
–
2 axis to define a 2D space (x and y);
–
3 axis to define a 3D space (x, y, and z);
•
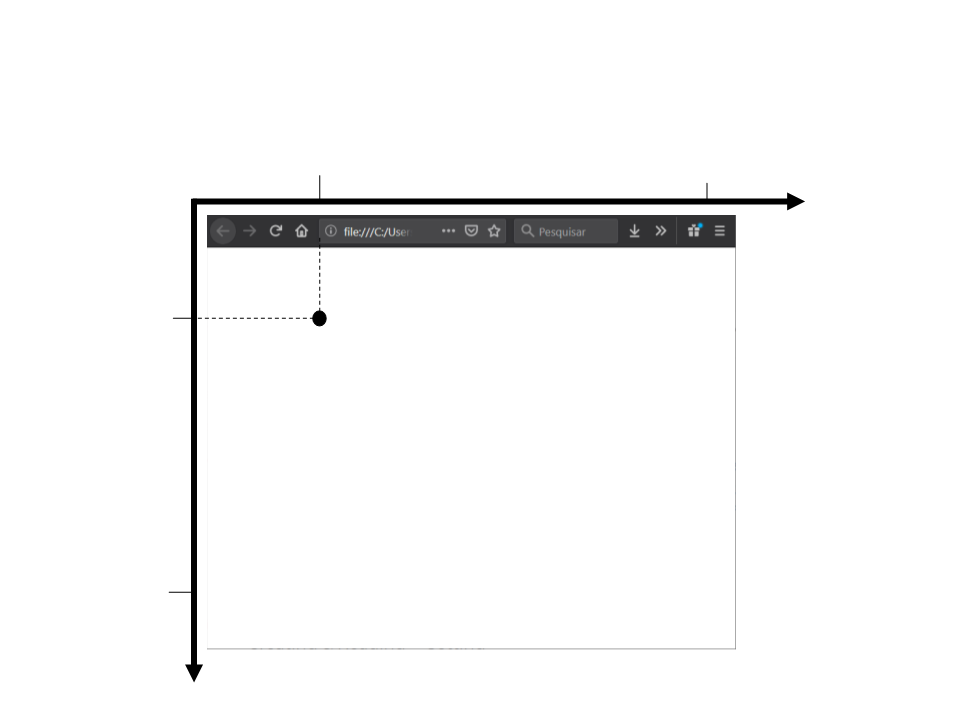
Warning: different tools/frameworks
use different coordinate systems
–
1 unit = 1 pixel / arbitrary scene units;
–
Origin at the top left / origin at the
center / origin at the bottom left;
–
y goes up / y goes down;
p5.js Coordinate System
200
800
0
x
100
(200,100)
600
createCanvas(800, 600);
y
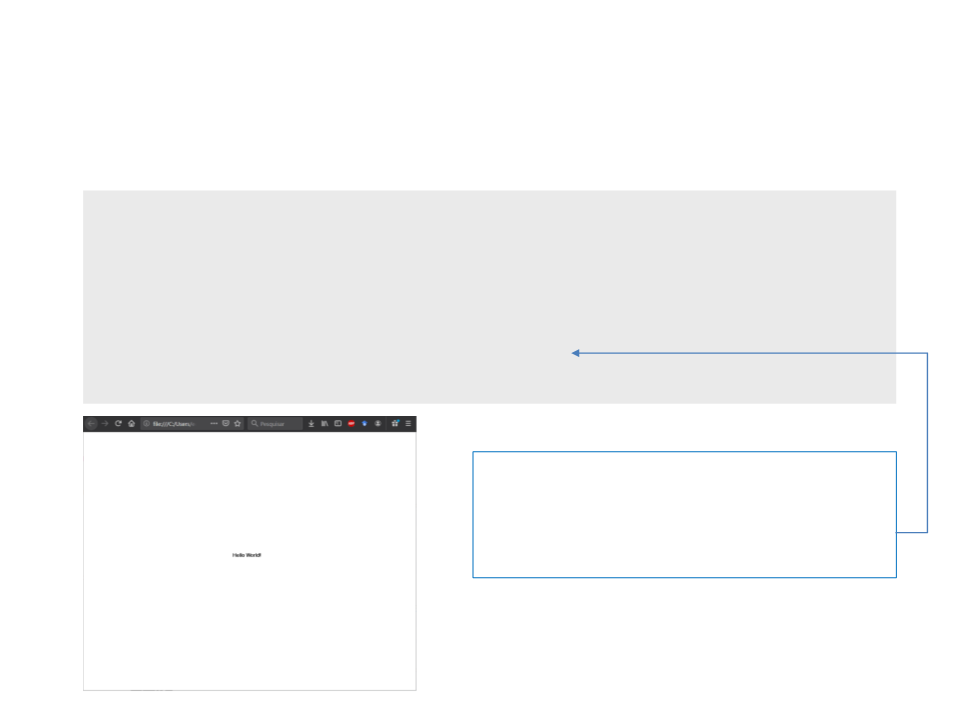
“
Hello World” in p5.js
function setup() {
createCanvas(800, 600);
}
function draw() {
text("Hello World!", 360, 300);
}
The function text is used to draw a
text on screen. The last two parameters
represent the position (x and y) where
the text will be drawn.

Programming in p5.js
•
•
Programming in p5.js involves the implementation of some
callback functions. A callback is a function that you code and
p5.js automatically calls at certain times.
Example:
function draw()
–
The callback drawis called continuously to draw all the
graphical elements (images, geometric shapes, text, etc.)
on the screen every frame.

p5.js Callbacks
•
p5.js has several callbacks to perform various tasks (all of them
are optional):
–
Initialization, rendering, user input keyboard/mouse/joystick, ...
•
•
List of p5.js call-backs and functions:
–
https://p5js.org/reference/
More common callbacks:
–
–
–
–
setup()
draw()
keyPressed()
mouseMoved()

Callback setup()
•
•
The callback setup()is called exactly once at the beginning
of the program.
Is usually used to:
–
–
–
Load resources (images, audio, etc.)
Initialize variables
Set specific settings
function setup() {
createCanvas(800, 600);
background(255, 255, 255);
}
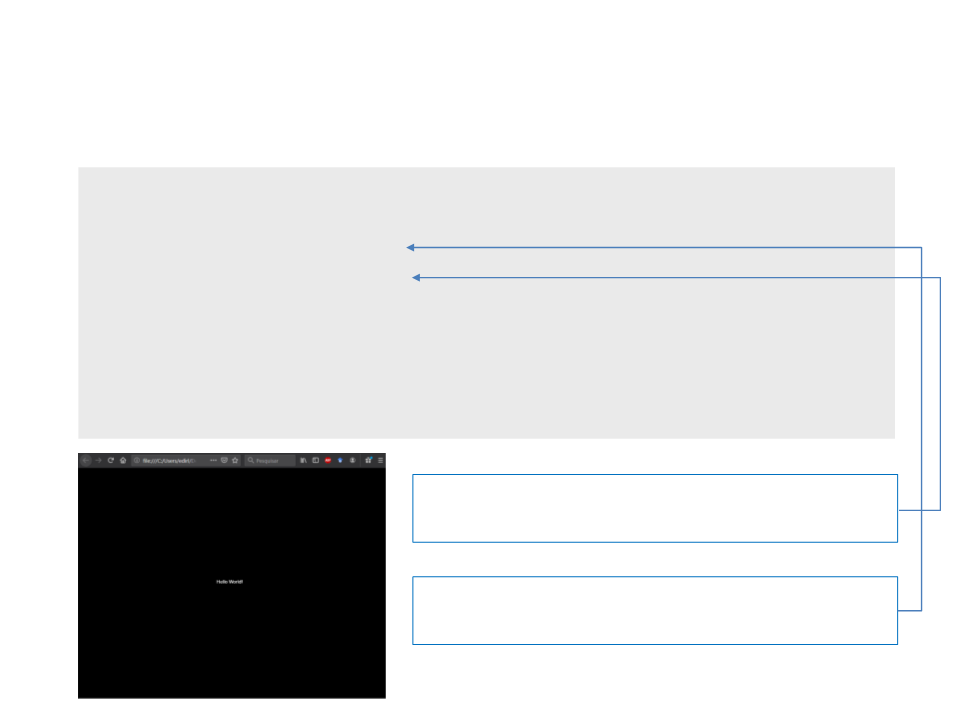
Back to the “Hello World”
function setup() {
createCanvas(800, 600);
background(0, 0, 0);
fill(255, 255, 255);
}
function draw() {
text("Hello World!", 360, 300);
}
The function fill defines the color used to
draw things on screen (RGB model)
The function background defines the
background color (RGB model)
Callback draw()
•
•
The callback draw()is called continuously while the program
is running (every frame). The variable deltaTime represents
amount of milliseconds since the last time this function was
called.
Is used to:
–
–
–
Draw graphical elements
Implementation of the game program constant rate (independently of the
Physics simulations
Calculates the value of px at a
speed of the computer)
function draw() {
background(0, 0, 0);
px = px + (0.1 * deltaTime);
text("Hello World!", px, 300);
}

Back to the “Hello World”
var px = 0; //position of the text in the x axis
function setup()
{
createCanvas(800, 600);
fill(255, 255, 255);
}
function draw()
{
background(0, 0, 0);
px = px + (0.1 * deltaTime);
text("Hello World!", px, 300);
}
2
D Shape Functions
•
Drawing basic geometric shapes:
Optional corners radius.
–
Rectangle:
rect(x, y, w, h, [rtl], [rtr], [rbr], [rbl])
Example:
rect(300, 250, 200, 100);
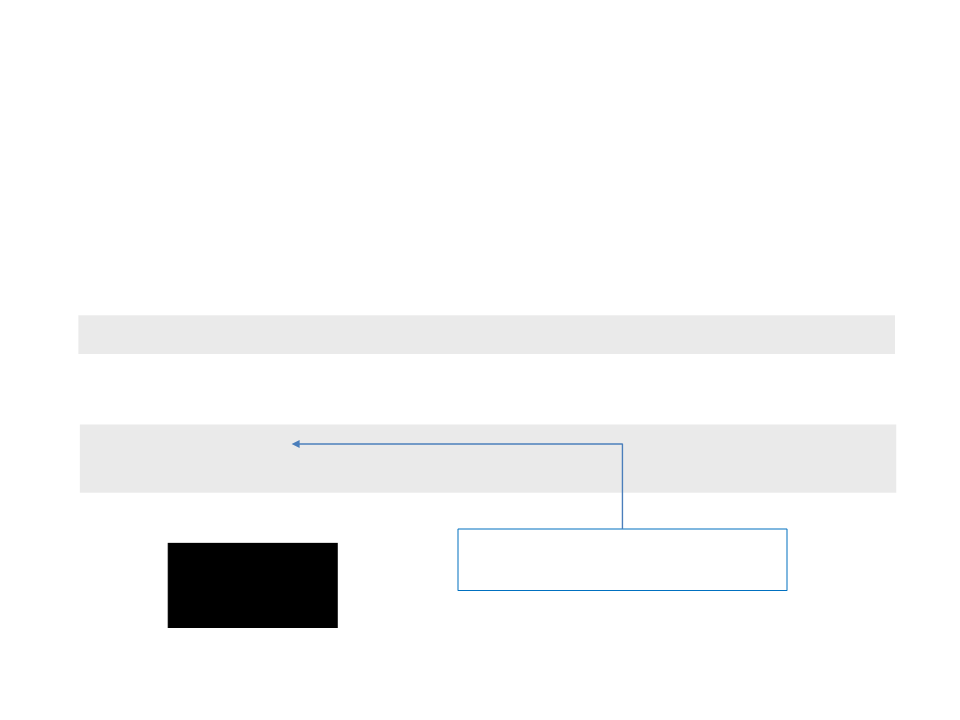
2
D Shape Functions
•
Drawing basic geometric shapes:
–
Rectangle:
rect(x, y, w, h, [rtl], [rtr], [rbr], [rbl])
Example:
fill(0, 0, 0);
rect(300, 250, 200, 100);
Draw the shape filled with a black
color.
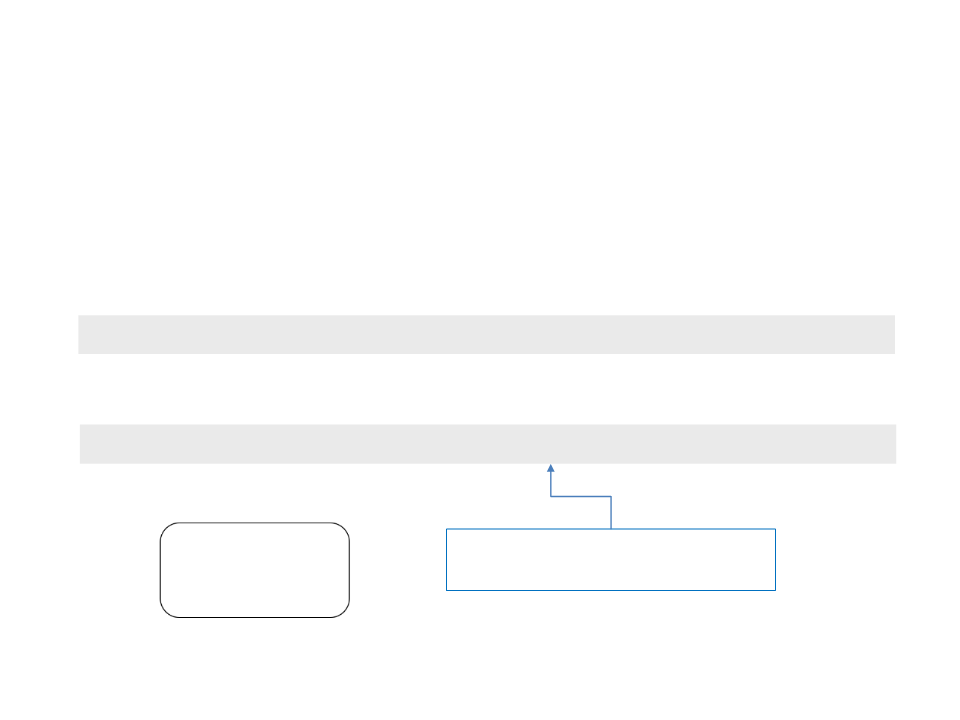
2
D Shape Functions
•
Drawing basic geometric shapes:
–
Rectangle:
rect(x, y, w, h, [rtl], [rtr], [rbr], [rbl])
Example:
rect(300, 250, 200, 100, 20, 20, 20, 20);
Draw the rectangle with rounded
corners, each having a radius of 20.
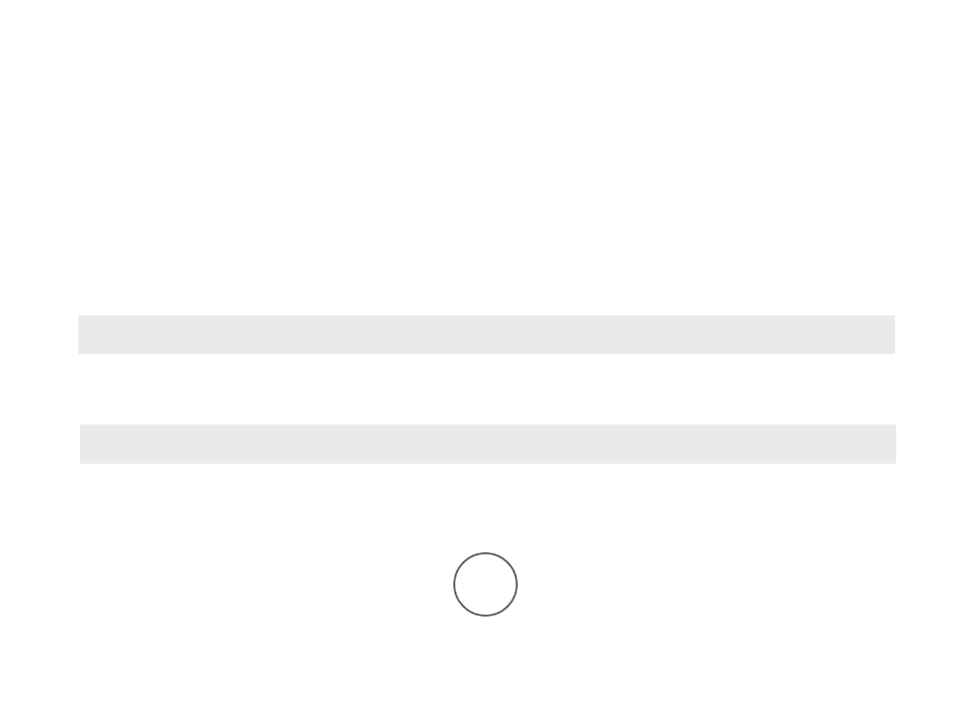
2
D Shape Functions
•
Drawing basic geometric shapes:
–
Circle:
circle(x, y, d)
Example:
circle(400, 300, 50);
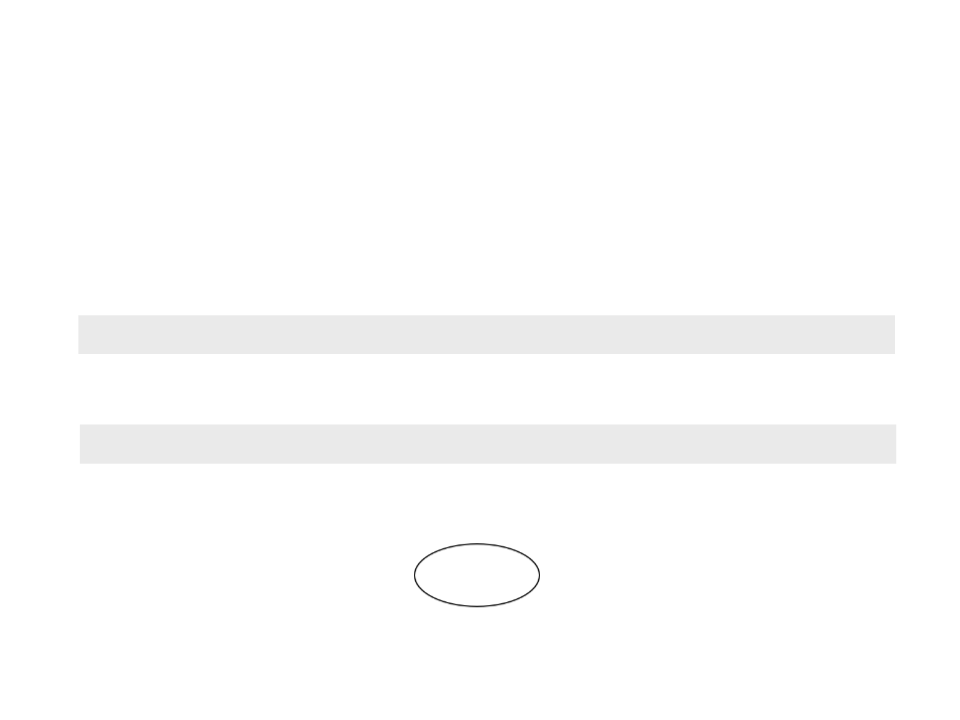
2
D Shape Functions
•
Drawing basic geometric shapes:
–
Ellipse:
ellipse(x, y, w, h)
Example:
ellipse(400, 300, 100, 50);

2
D Shape Functions
•
Drawing basic geometric shapes:
–
Line:
line(x1, y1, x2, y2)
Example:
line(300, 300, 500, 300);

2
D Shape Functions
•
Drawing basic geometric shapes:
–
Triangle:
triangle(x1, y1, x2, y2, x3, y3)
Example:
triangle(350, 300, 450, 300, 400, 200);

2
D Shape Functions
•
Drawing basic geometric shapes:
–
Polygon:
beginShape(), vertex(x, y), endShape()
Example:
beginShape();
vertex(350, 300);
vertex(450, 300);
vertex(400, 200);
endShape(CLOSE);
2
D Shape Functions
•
Drawing basic geometric shapes:
–
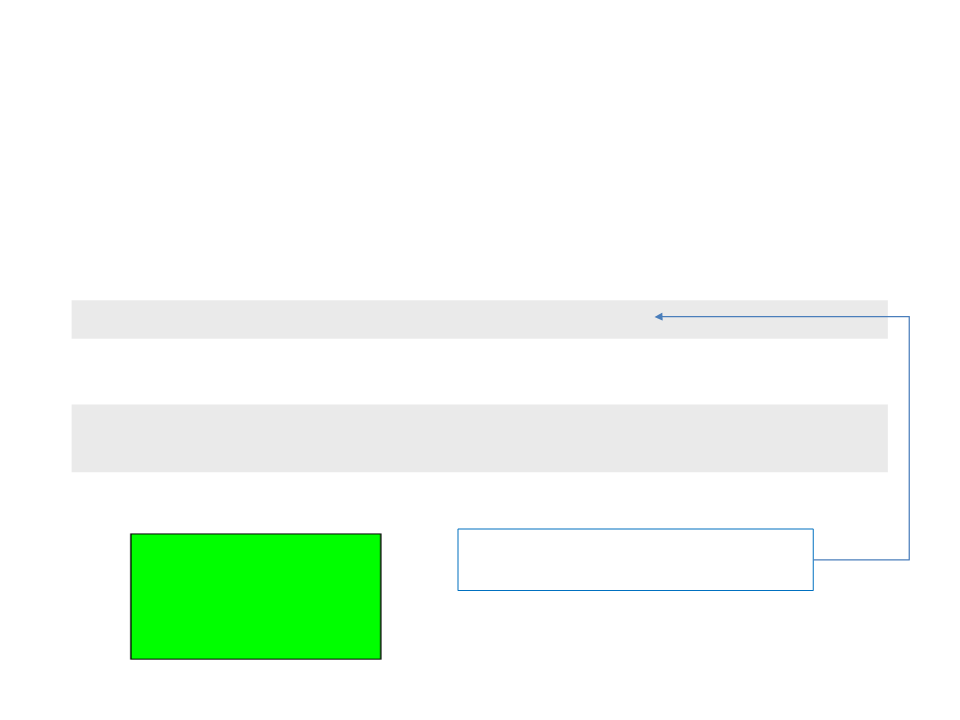
Changing the color of the geometric shapes:
fill(v1, v2, v3, [alpha])
Example:
fill(0, 255, 0);
rect(300, 250, 200, 100);
The alpha is optional and can be used
to define colors with transparency.
2
D Shape Functions
•
Drawing basic geometric shapes:
–
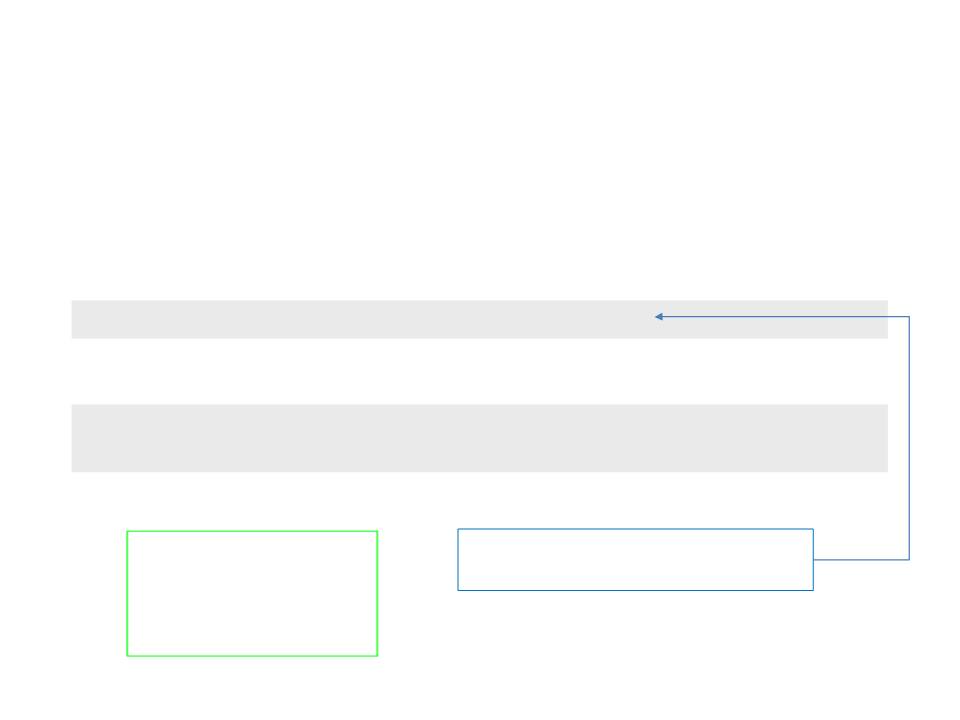
Changing the border color of the geometric shapes:
stroke(v1, v2, v3, [alpha])
Example:
stroke(0, 255, 0);
rect(300, 250, 200, 100);
The alpha is optional and can be used
to define colors with transparency.
2
D Shape Functions
•
Drawing basic geometric shapes:
–
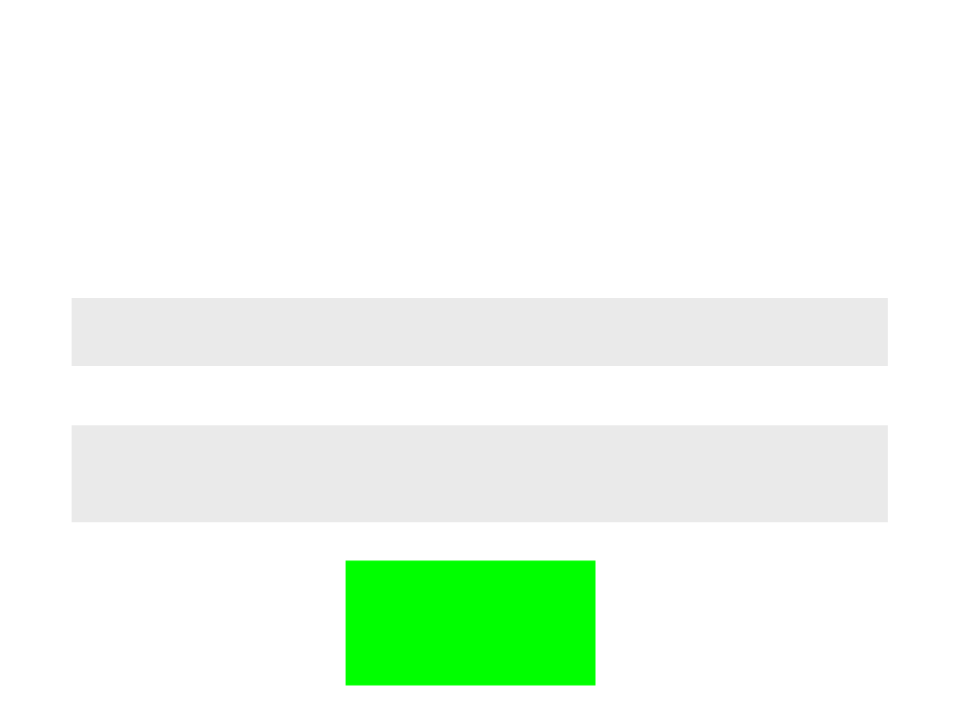
–
Disabling the border or the fill of geometric shapes:
noStroke()
noFill()
Example:
fill(0, 255, 0);
noStroke();
rect(300, 250, 200, 100);
2
D Shape Functions
•
Drawing basic geometric shapes:
–
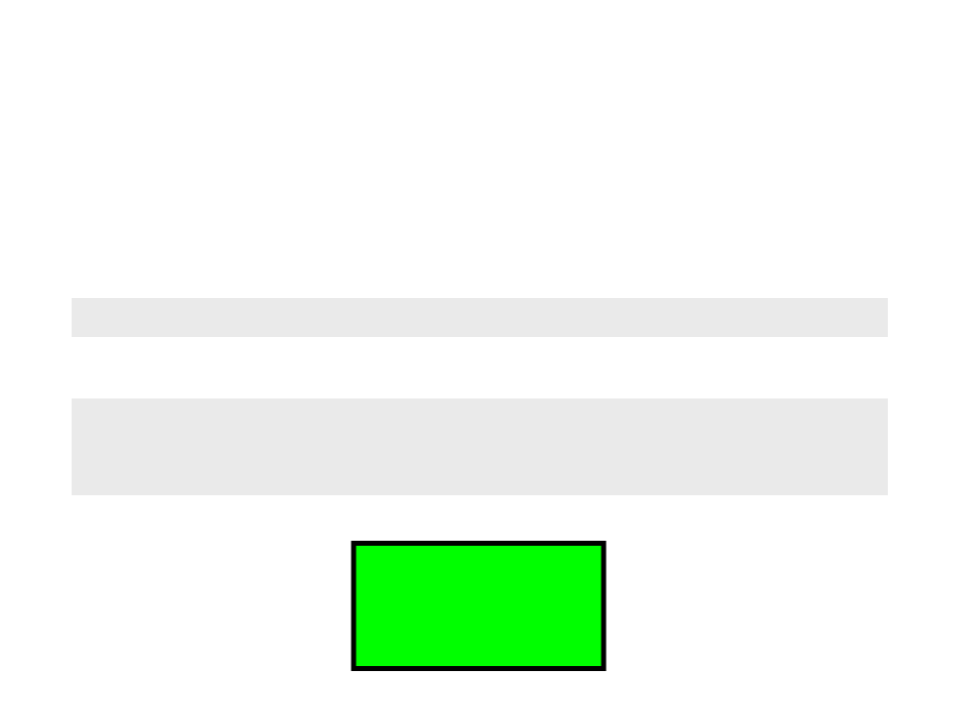
–
Changing the border width of geometric shapes:
strokeWeight(weight)
Example:
fill(0, 255, 0);
strokeWeight(4);
rect(300, 250, 200, 100);

Geometric Shapes - Example
function draw() {
background(255, 255, 255);
noStroke();
fill(0, 132, 0);
rect(100, 100, 600, 400);
fill(250, 250, 0);
beginShape();
vertex(120, 300);
vertex(400, 120);
vertex(680, 300);
vertex(400, 480);
endShape(CLOSE);
fill(0, 0, 132);
circle(400, 300, 240);
}
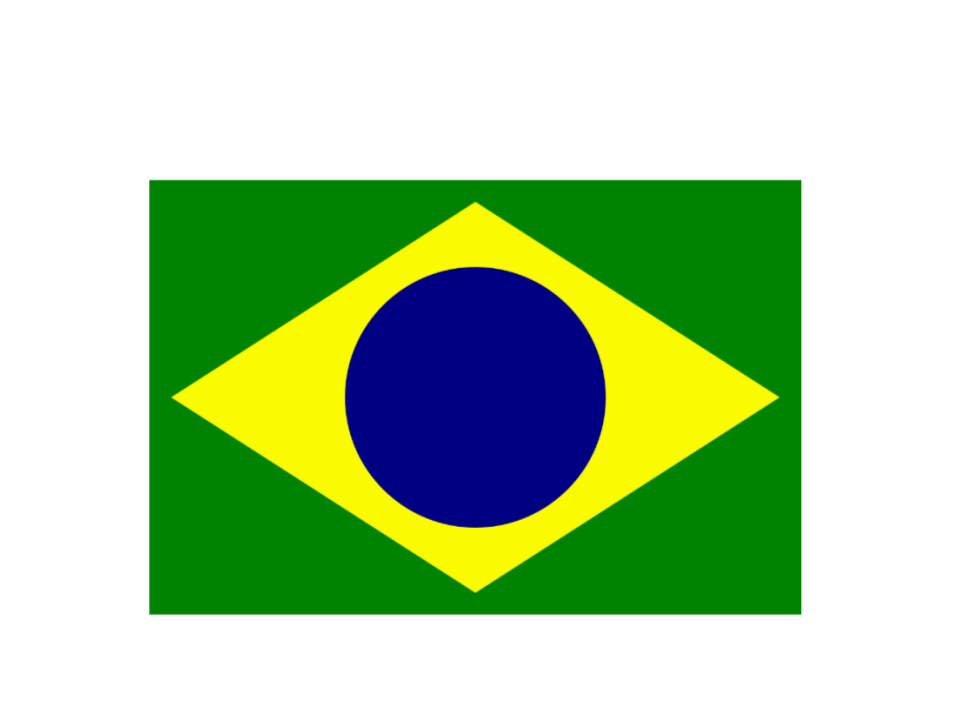
Geometric Shapes - Example
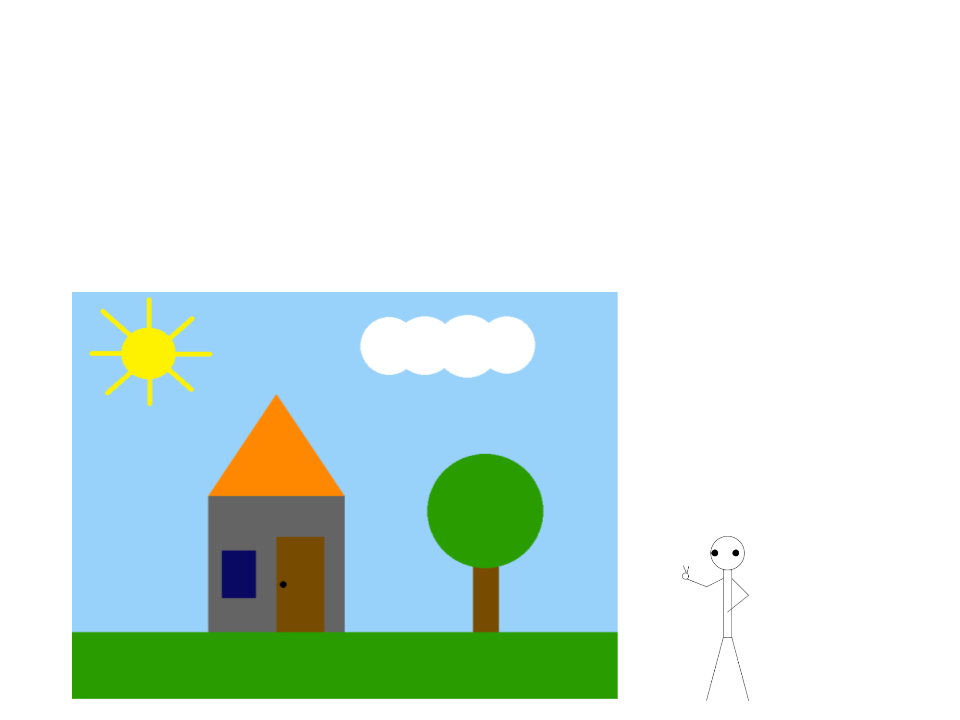
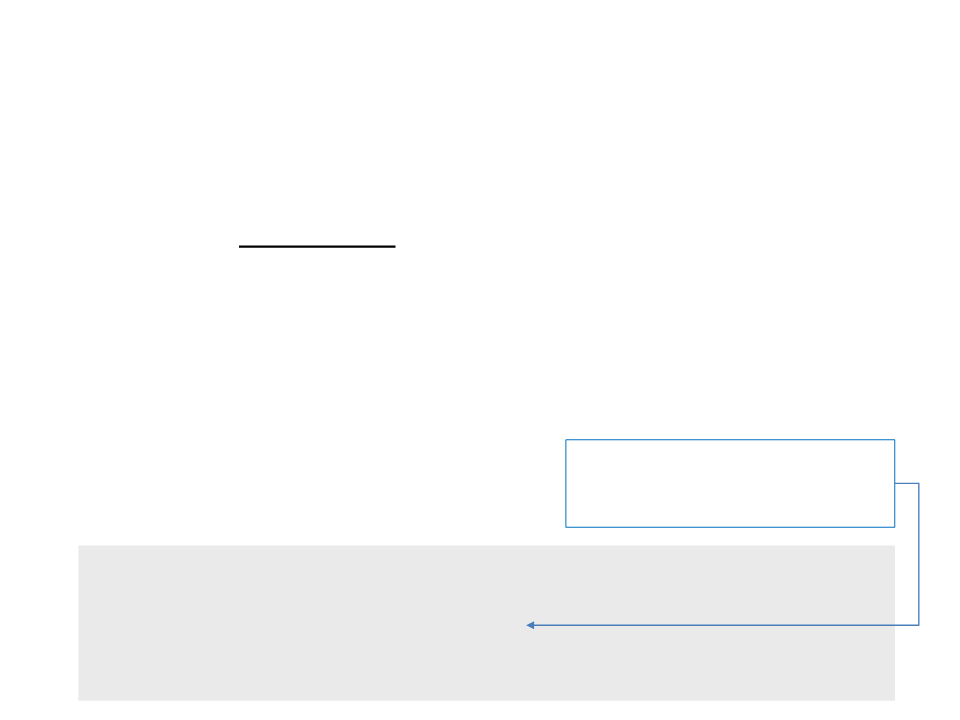
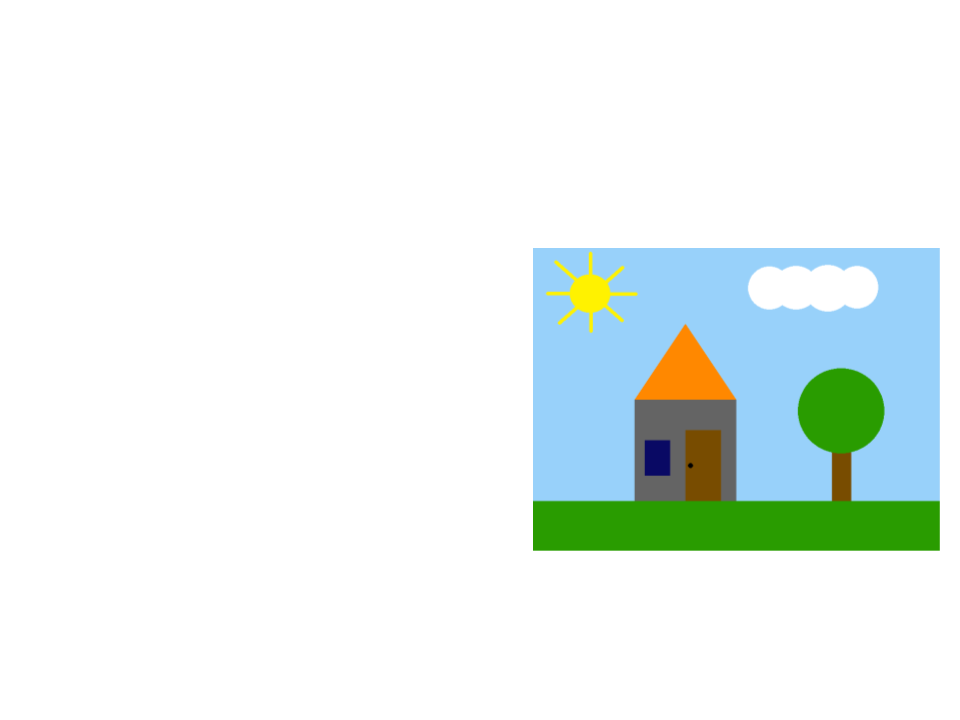
Exercise 1
1
) Using basic geometric shapes (lines, rectangles, circles, and
polygons), implement a program to draw a scene similar to the
one illustrated below:
Hints:
•
•
Start simple and add one
element at a time.
Test after adding each
element.
Extra challenge:
•
Draw a character in the
scene using basic shapes:

ImageType
•
p5.js programs are not created using only geometric shapes.
Usually, images are used to represent objects and other visual
elements.
•
•
p5.js offers an especial data type called image.
We can load a new image using the function:
img = loadImage(path, [successCallback], [failureCallback])
•
We can draw an image using the function:
image(img, x, y, [width], [height])
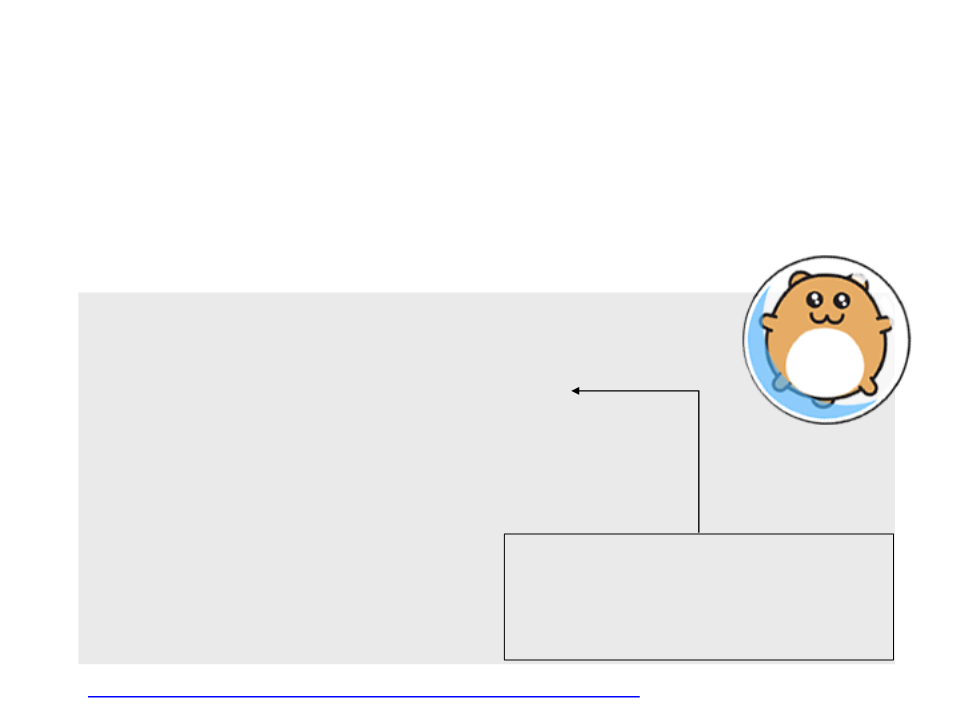
ImageType
•
To draw an image on screen, two steps are required:
–
Load the image with the function loadImage
–
Draw the image with the function image
var myimage;
function preload(){
myimage = loadImage("hamster.png");
}
function setup(){
createCanvas(800, 600);
}
The image may not be immediately
function draw(){
background(255, 255, 255);
image(myimage, 100, 100);
}
available for rendering, so to ensure
that the image is ready, place the
loadImage() call in preload() function.
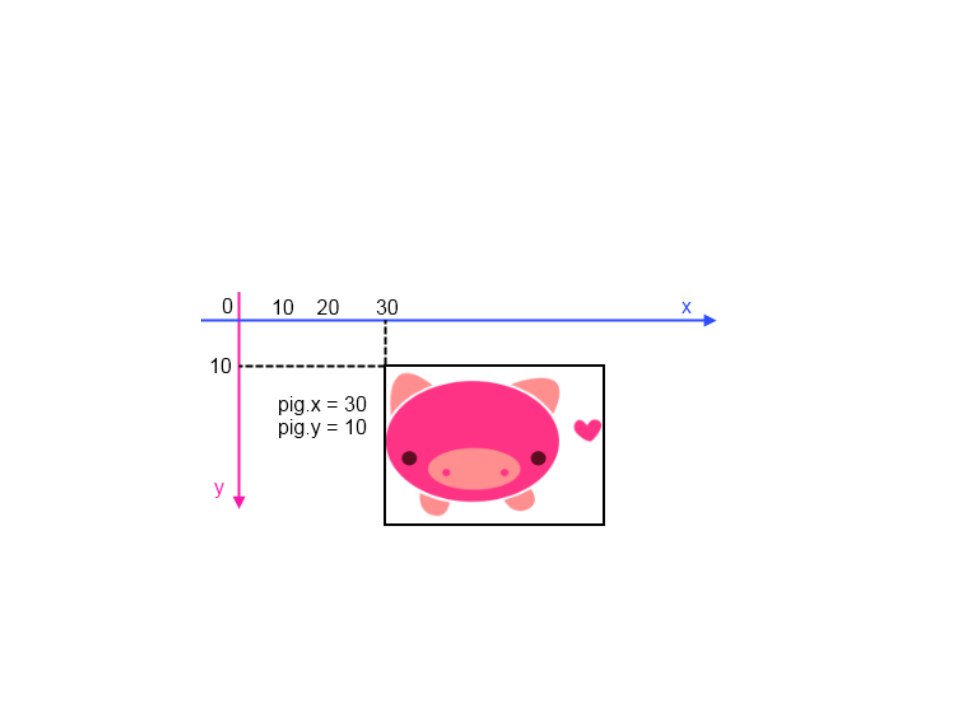
ImageType
•
By default, images are drawn with the origin located at the
top left corner:
•
Is possible to change the origin point with the function
imageMode(mode).

ImageType
•
Example:
var myimage;
var myrotation = 0;
function preload(){
myimage = loadImage("hamster.png");
}
function setup(){
createCanvas(800, 600);
}
function draw(){
background(255, 255, 255);
myrotation = myrotation + (0.1 * deltaTime);
translate(100, 100);
rotate(radians(myrotation));
imageMode(CENTER);
image(myimage, 0, 0);
}
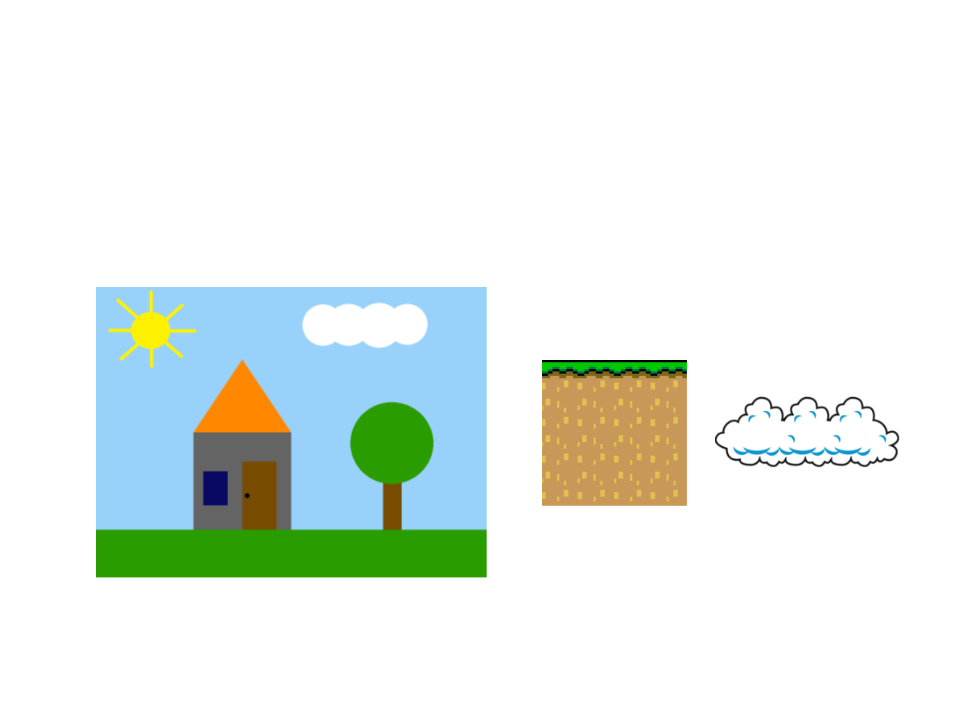
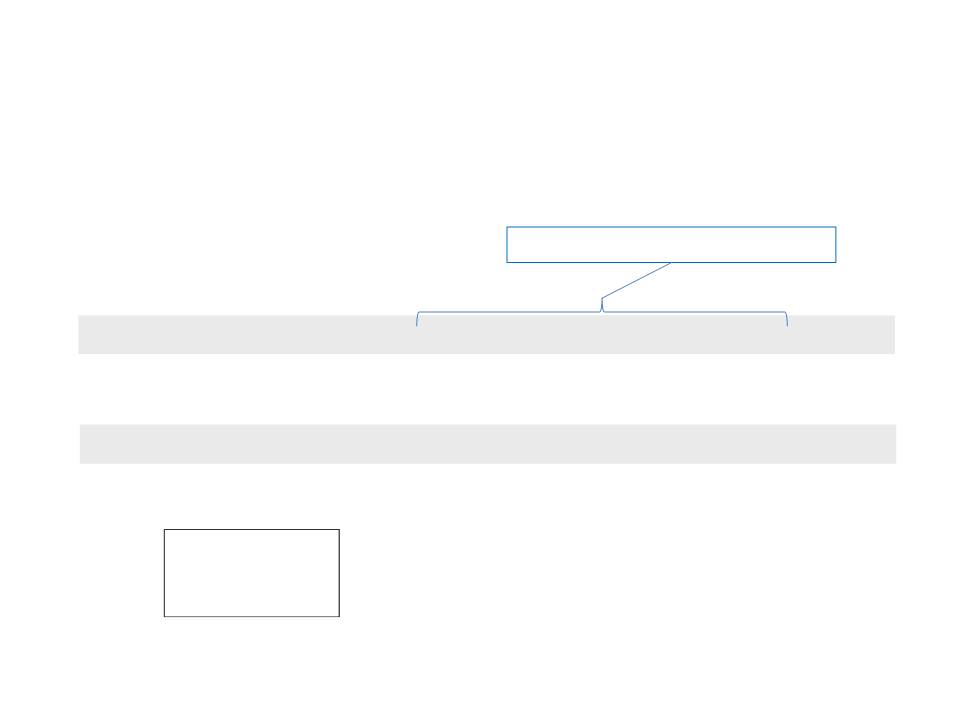
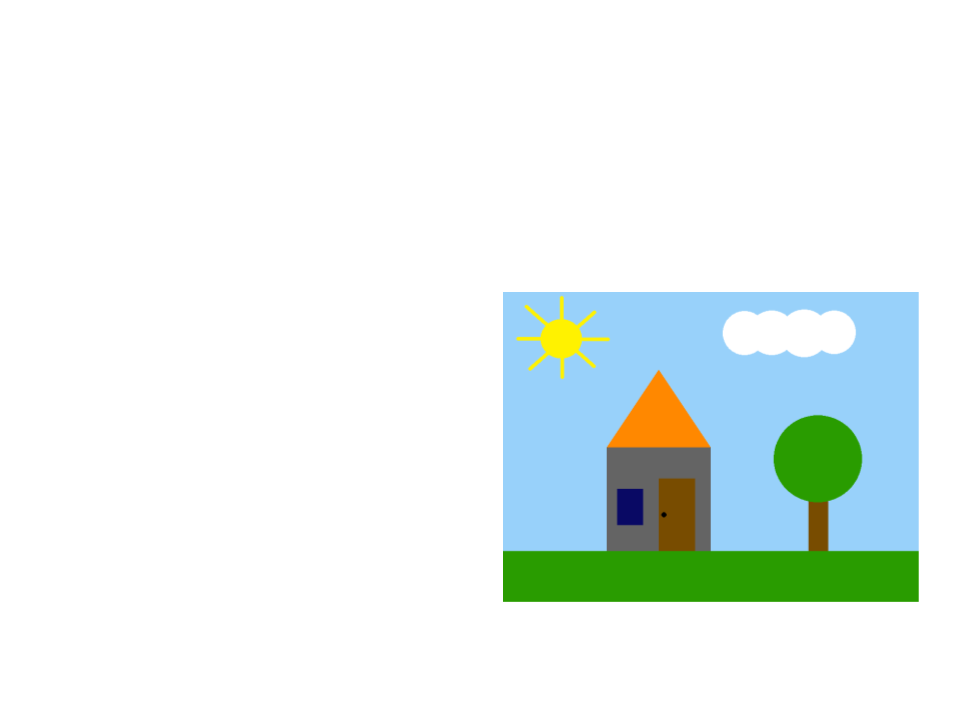
Exercise 2
2
) Replace the geometric shapes of the previous exercise by
images (one image per element).
Examples of images:
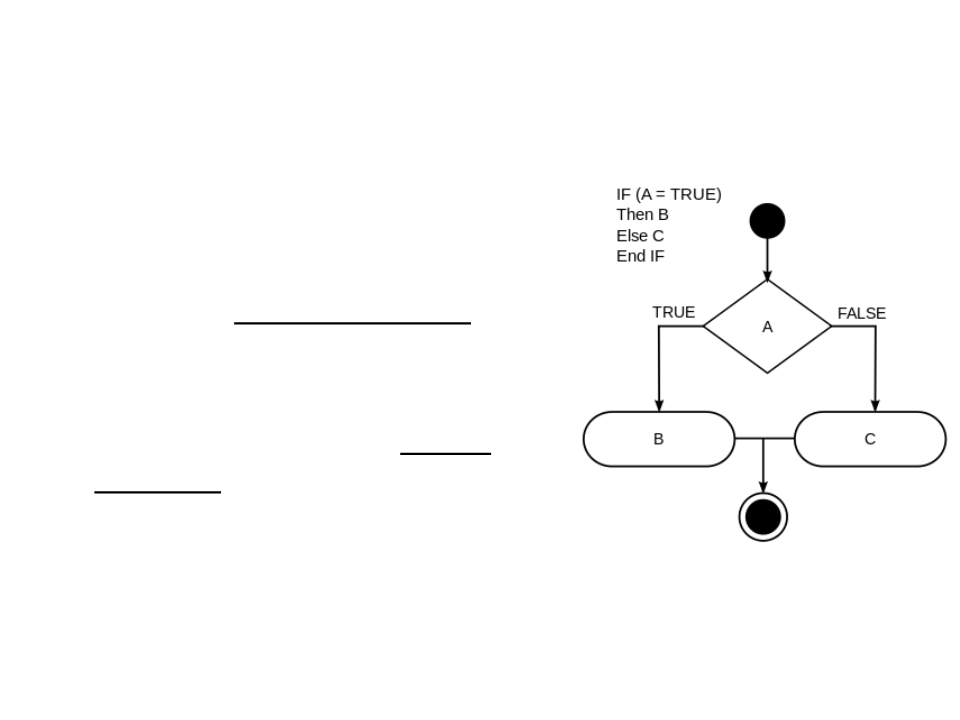
Conditional Statements
•
Conditional statements allow
programs to perform different
computations or actions depending o
whether a boolean condition
evaluates to true or false.
•
•
Are used to control the flow of
execution and to define logical paths
through the code.
JavaScript statements: if – else if – else
Conditional Statements
•
•
In JavaScript, conditional statements are constructed
with the if:
if (boolean_condition){
// block of code
}
The lines of code that are in the block
of code only will be executed if the
boolean condition is true.
Example:
if (px <= 800){
px = 0;
}

Conditional Statements
•
The else statement can also be used to define a block
of code to be executed when the boolean condition
is not true:
Example:
if (boolean_condition){
// block of code
if (px > 800){
px = 0;
}
}
else {
/ block of code
}
else{
px = px + (0.1 * deltaTime);
}
/
Conditional Statements
•
The else if statement can also be used to create
alternatives with conditions:
if (boolean_condition_1){
- block of code 1
}
If the first condition is true, only the first
block of code is executed; the other
conditions are not even evaluated.
Otherwise, if the second condition is true,
only the second block of code is executed,
and so on.
-
else if (boolean_condition_2){
-- block of code 2
}
else if (boolean_condition_3){
-- block of code 3
}

Conditional Statements
•
Example:
if (enemy_pos_x < player_pos_x){
- Go to the right
-
}
else if (enemy_pos_x > player_pos_x){
-- Go to the left
}
else{
-- Attack!
}
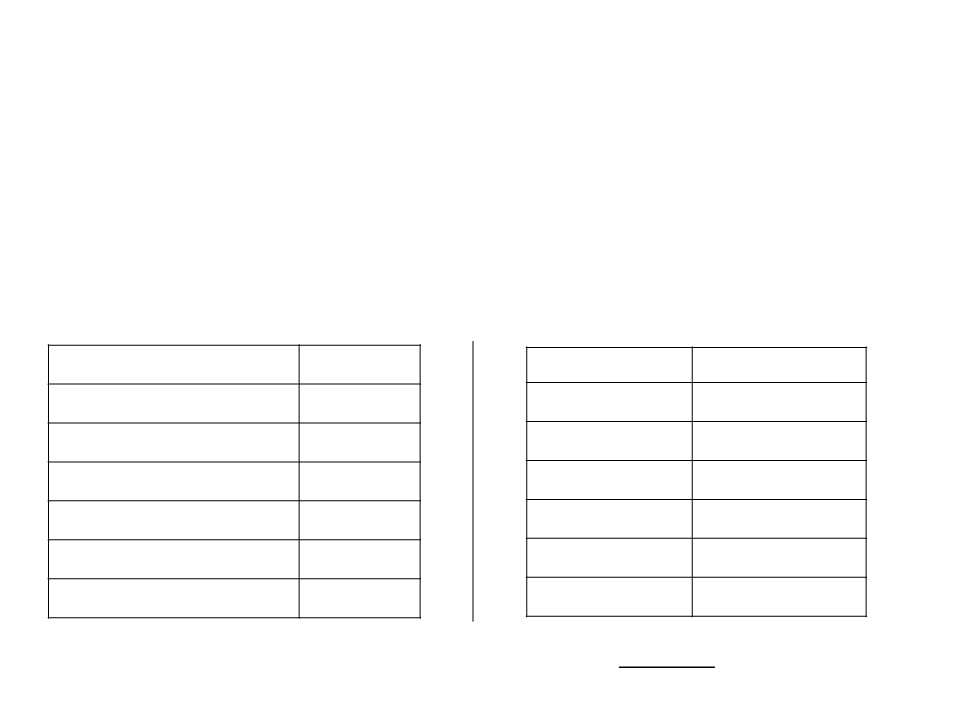
Boolean Conditions
•
Boolean conditions are defined with relational
operators:
Examples:
X = 10 e Y = 5
Description
Symbol
==
!=
>
Description
Symbol
False
True
X == Y
Equals to
X != Y
X > Y
Different from
Larger than
True
<
X < Y
Smaller than
False
True
False
>=
<=
X >= Y
X <= Y
Larger than or equal to
Smaller than or equal to
All the operators are used to compare two values,
resulting in true or false.
Boolean Conditions
•
Boolean conditions can also be combined with
logical operators.
Operator
Conjunction
Disjunction
Negation
Meaning
and
Symbol
&&
||
!
or
not
Examples:
Result
Condition
(
X > 0) && (X == Y)
X > 0) || (X == Y)
(Y < 10)
False
True
X = 10
Y = 5
(
!
False

Boolean Conditions
Example 1 (and):
•
.
..
if ((var1 >= 5.0) && (var2 >= 3.0) && (var3 >= 3.0) && (var4 >= 3.0)){
-
- block of code
}
.
..
•
Example 2 (or):
.
..
if ((var1 < 5.0) || (var2 < 3.0) || (var3 < 3.0) || (var4 < 3.0)){
-
- block of code
}
.
..
•
Example 3 (not):
.
..
if !((var1 < 5.0) || (var2 < 3.0) || (var3 < 3.0) || (var4 < 3.0)){
-
- block of code
}
.
..

Back to the “Hello World”
•
In the last implementation of the “Hello World”, we moved
the text through the screen/window.
–
Problem: when the text reaches the limit of the screen/window, the
text disappears (it keeps moving…)
•
•
With a conditional statement, we can move the text back
when it reaches the limit of screen/window.
How can we do that?

Back to the “Hello World”
var px = 0;
function setup()
{
createCanvas(800, 600);
fill(255, 255, 255);
}
function draw()
{
background(0, 0, 0);
px = px + (0.1 * deltaTime);
text("Hello World!", px, 300);
}

Back to the “Hello World”
var px = 0;
function setup()
{
createCanvas(800, 600);
fill(255, 255, 255);
}
function draw()
{
background(0, 0, 0);
px = px + (0.1 * deltaTime);
if (px > 800){
px = 0;
}
text("Hello World!", px, 300);
}
Back to the “Hello World”
var px = 0;
function setup()
{
createCanvas(800, 600);
fill(255, 255, 255);
}
function draw()
{
background(0, 0, 0);
px = px + (0.1 * deltaTime);
A more general way of
obtaining the width of the
canvas area.
if (px > width){
px = 0;
}
text("Hello World!", px, 300);
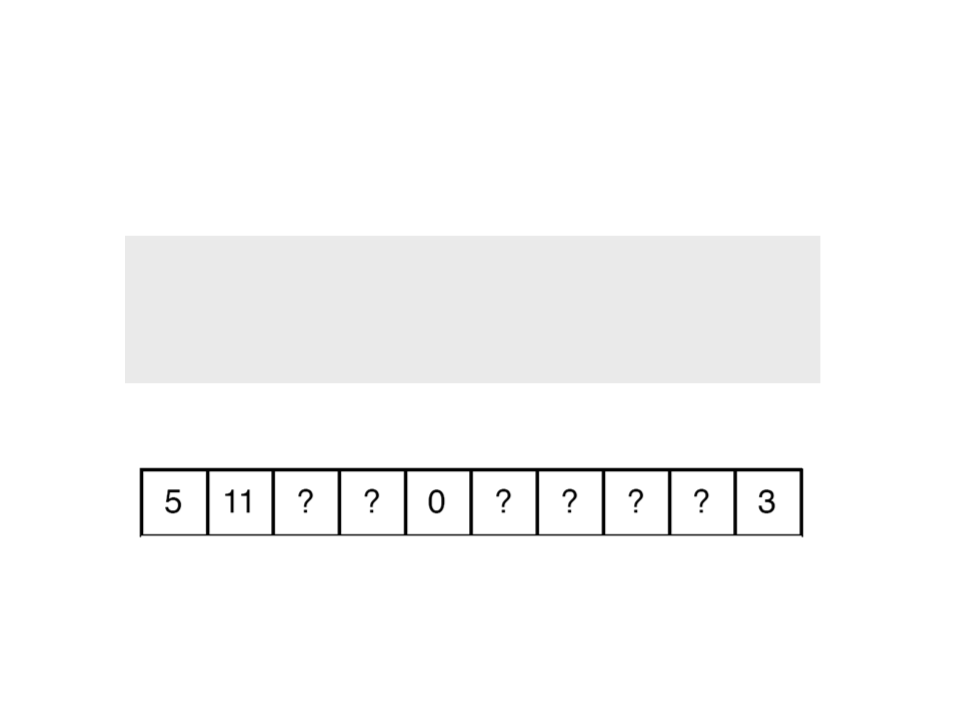
}
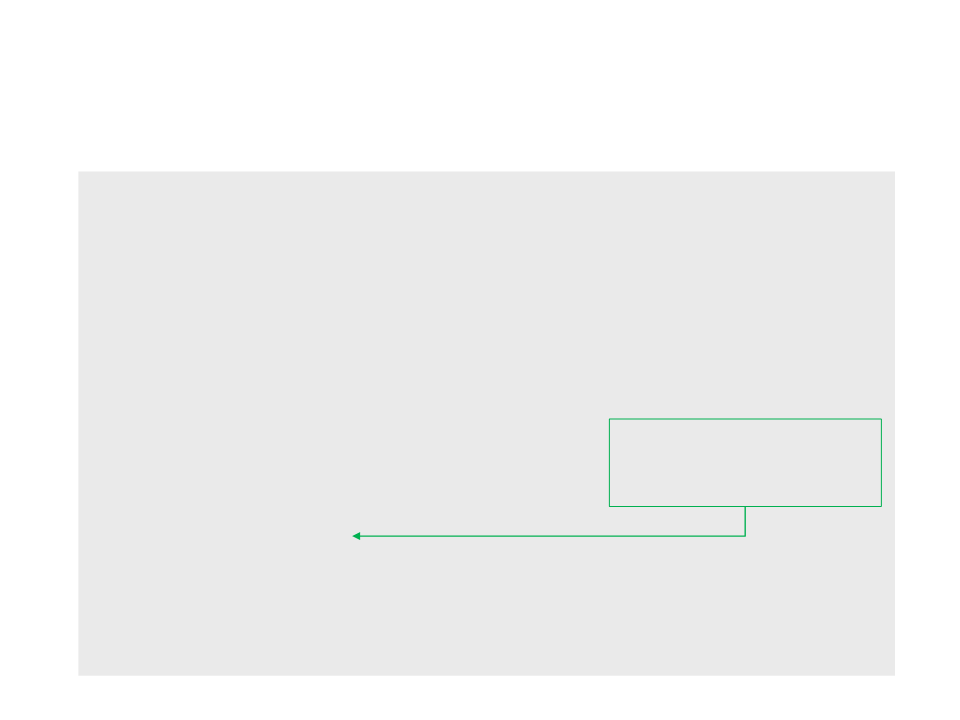
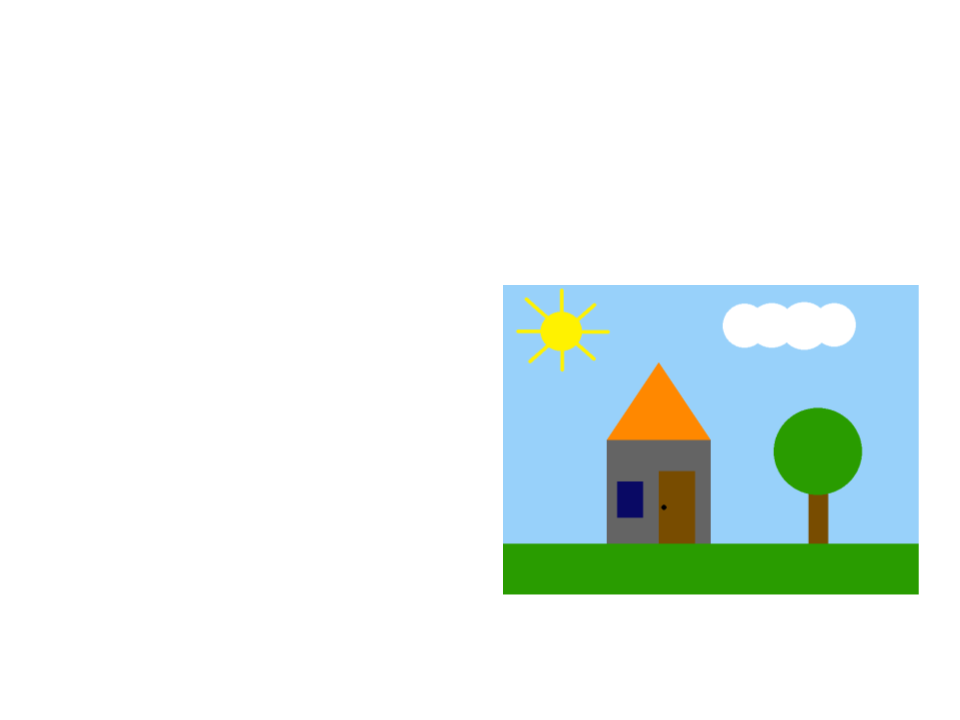
Exercise 3
3
) Continue the last exercise and implement an animation to
move the cloud (from left to right).
a) When the cloud disappear on the
right side, it should appear on the
left side (smoothly).
b) When the cloud is over the sun,
change the color of the
background to a darker color.

User Interaction
•
•
p5.js provides an interface to the user's keyboard and
contains several functions for user interaction.
Is possible to check if some key is pressed with the function
keyIsDown
keyIsDown(key)
•
The function returns true if the key (parameter) is pressed.

User Interaction
•
•
A conditional statement is necessary to handle the result of
the function.
Example:
if (keyIsDown(RIGHT_ARROW)){
px = px + (0.1 * deltaTime);
}
•
List of key codes: https://p5js.org/reference/#p5/keyCode

Back to the “Hello World”
var px = 0;
function setup()
{
createCanvas(800, 600);
fill(255, 255, 255);
}
function draw()
{
background(0, 0, 0);
if (keyIsDown(RIGHT_ARROW)){
px = px + (0.1 * deltaTime);
}
text("Hello World!", px, 300);
}
Exercise 4
4
) Continue the implementation of the last exercise to allow the
user to move the sun (in the X and Y axis) using the arrow keys
of the keyboard.
•
The code that changes the color
of the background must still
work after moving the sun
(considering the new position of
the sun).

User Interaction
•
•
p5.js also provides an interface to the user's mouse and
contains several functions for user interaction with the mouse.
Is possible to check if a mouse button is pressed by accessing
the variable mouseIsPressed. In addition, the variable
mouseButtonindicates the button that is being pressed.
•
A conditional statement is necessary to handle the logic:
if (mouseIsPressed) {
if (mouseButton === LEFT) {
mytext = "Left! :)";
}
}

User Interaction
•
•
p5.js also provides access to the mouse position (mouseX and
mouseY).
The variables mouseXand mouseYcontain the position of the
mouse inside the canvas (X and Y axis).
•
Example:
text("Hello World!", mouseX, mouseY);

Back to the “Hello World”
•
Using the mouse functions, we can modify the “Hello World”
to allow user to:
–
–
Move the text with the mouse;
Change the content of the text when the left button is pressed:
•
Left button: “Hello Mouse Movement! :)”
•
None: “Hello World!”
•
How can we do that?

Back to the “Hello World”
var px = 300;
var py = 200;
var mytext = "Hello World!";
function setup(){
createCanvas(800, 600);
fill(255, 255, 255);
}
function draw(){
background(0, 0, 0);
if (mouseIsPressed) {
if (mouseButton === LEFT) {
mytext = "Hello Mouse Movement! :)";
px = mouseX;
py = mouseY;
}
}
else{
mytext = "Hello World!";
}
text(mytext, px, py);
}
Exercise 5
5
) Continue the implementation of the last exercise to allow the
user to move the sun (in the X and Y axis) using the mouse.
•
The code that changes the color
of the background must still
work after moving the sun
(considering the new position of
the sun).
Loop Statements
•
•
•
You may encounter situations where a
block of code needs to be executed
several times.
A loop statement allows us to execute a
statement or group of statements
multiple times.
JavaScript loop statements: while, for

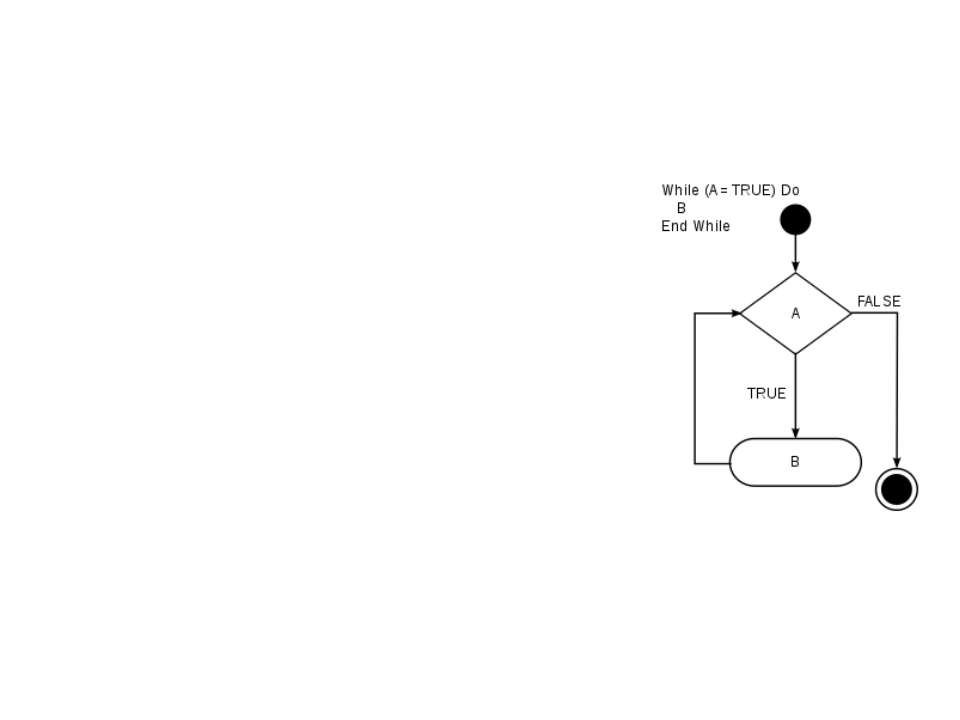
Loop Statements (while)
•
•
The while consists of a block of code and a boolean condition.
The condition is evaluated, and if it is true, the code within
the block is executed. This repeats until the condition
becomes false.
While the “boolean condition” is true,
the “block of code” is executed.
.
..
while (boolean_condition){
- block of code
-
When the condition becomes false, the
execution of the program continues to
the code that comes after the block of
code of the while.
}
...

Loop Statements (for)
•
Another common loop statement is the for.
–
It simplifies the implementation of loops that need to be executed a
specific number of times.
...
for (statement 1; statement 2; statement 3) {
-- block of code
}
...
–
Statement 1 is executed (one time) before the execution of the code
block.
–
–
Statement 2 defines the condition for executing the code block.
Statement 3 is executed (every time) after the code block has been
executed.

Back to the “Hello World”
•
•
•
In the last version of the “Hello World”, we moved the text and
made it return to the initial position when it reaches the limit
of the screen.
What if we need to do the same with 20 “Hello World’s” at the
same time?
–
Duplicating code is never a good option!
How can we do that?

Back to the “Hello World”
var px = 0;
function setup()
{
createCanvas(800, 600);
fill(255, 255, 255);
}
function draw()
{
background(0, 0, 0);
px = px + (0.1 * deltaTime);
if (px > width){
px = 0;
}
text("Hello World!", px, 300);
}

Back to the “Hello World”
var px = 0;
function setup(){
createCanvas(800, 600);
fill(255, 255, 255);
}
function draw(){
background(0, 0, 0);
px = px + (0.1 * deltaTime);
if (px > width){
px = 0;
}
var i = 0;
while (i < 20){
text("Hello World!", px, i * 30);
i++;
}
}

Back to the “Hello World”
var px = 0;
function setup(){
createCanvas(800, 600);
fill(255, 255, 255);
}
function draw(){
background(0, 0, 0);
px = px + (0.1 * deltaTime);
if (px > width){
px = 0;
}
for (var i = 0; i < 20; i++){
text("Hello World!", px, i * 30);
}
}
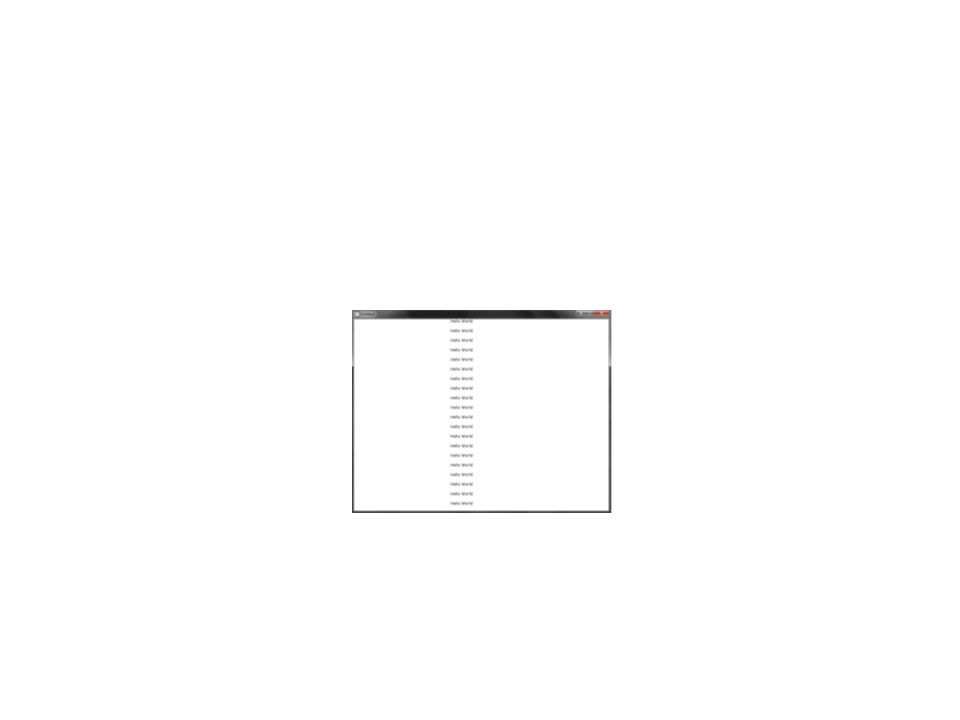
Back to the “Hello World”
•
In the last implementation of the “Hello World”, we
implemented the movement of 20 “Hello World’s”.
–
Problem: the 20 “Hello World’s” moved all together
•
How can we make the “Hello World’s” move independently
of each other?
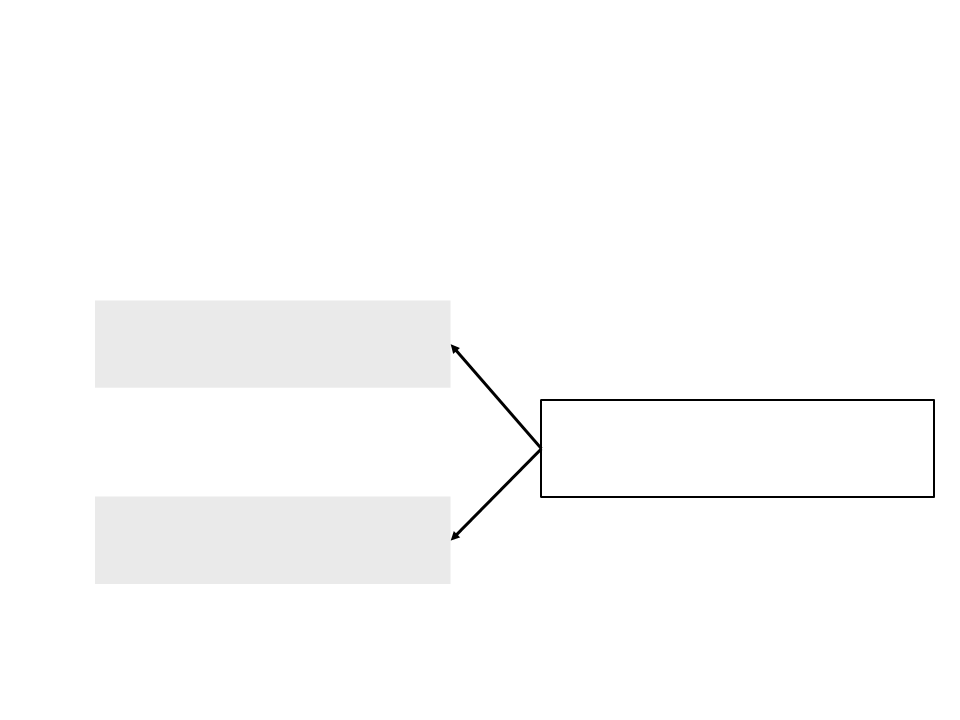
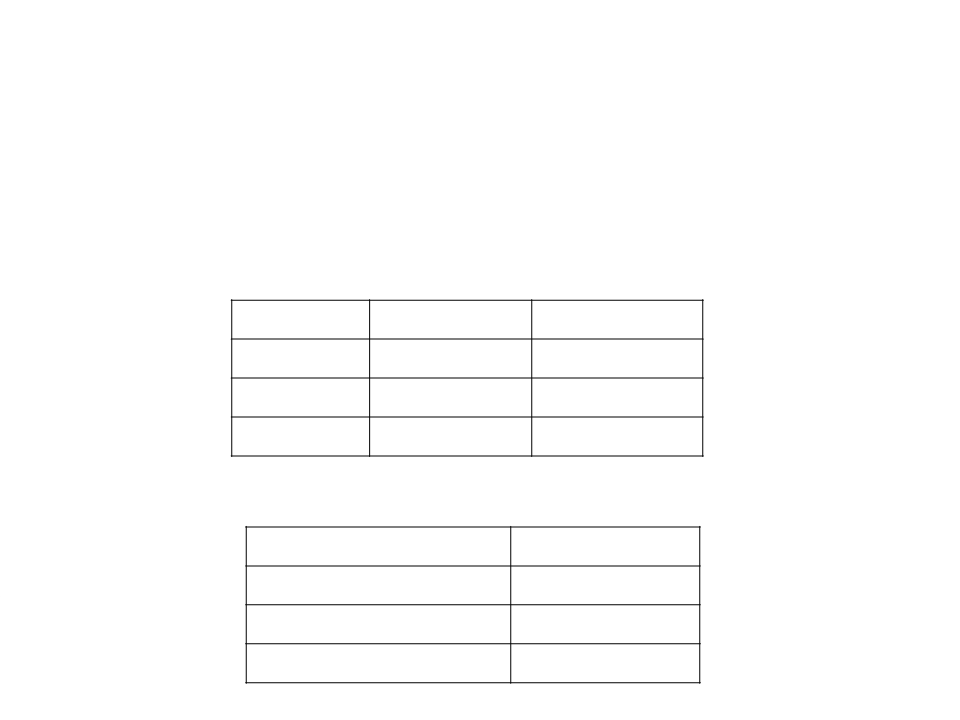
Arrays
•
Arrays are sequences of items (like variables) of the same
type.
–
Each item is identified by an index (integer).
0
1 2 3 4 5 6 7 8 9
•
With arrays we can store in memory sequences of values
numbers, text, imagens, etc.), which are all associated with a
single variable (the array).
(

Arrays in JavaScript
•
•
Arrays are indexed by integer numbers.
Different from many other programming languages, in
JavaScript we don't need to define the maximum size of
the array.
•
Creating a new empty array:
my_array = [];
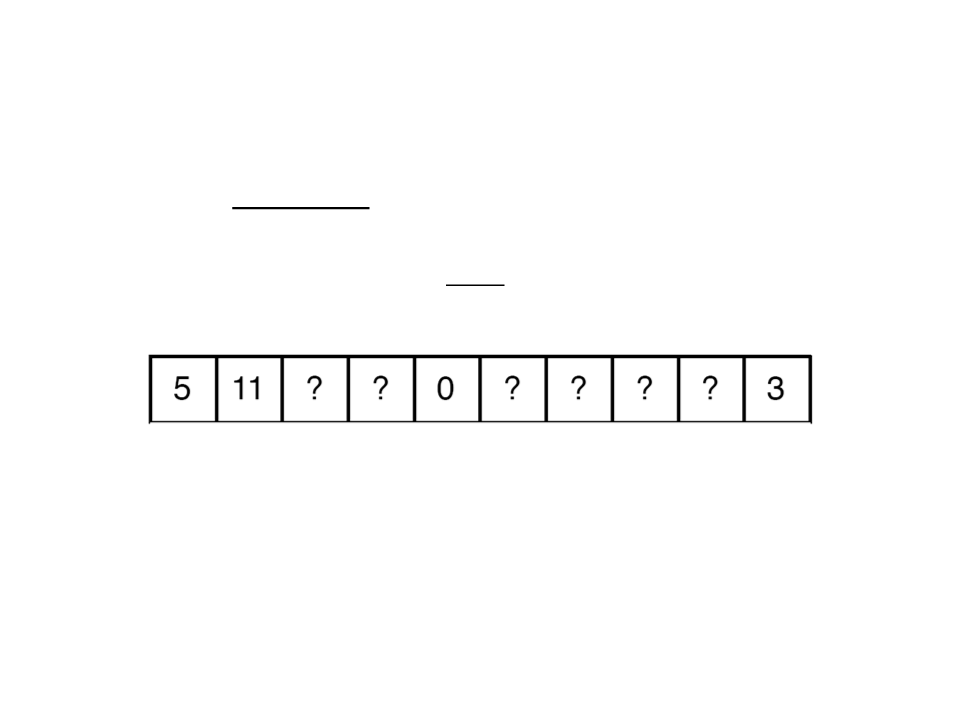
Arrays in JavaScript
•
Initializing some positions of the array:
my_array[0] = 5;
my_array[1] = 11;
my_array[5] = 0;
my_array[9] = 3;
0
1 2 3 4 5 6 7 8 9
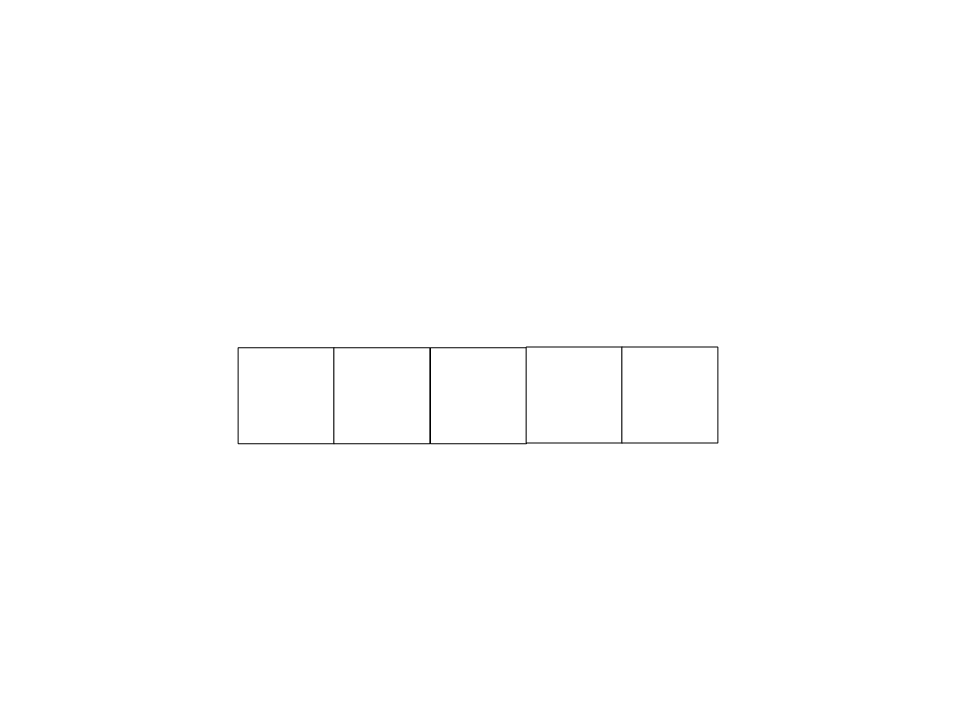
Arrays in JavaScript
•
We can access the values stored in the array using their index.
myarray = [];
0
1
2
3
4
5
?
?
?
8?
?1
myarray[0] = 5;
myarray[3] = 8;
myarray[4] = 1;

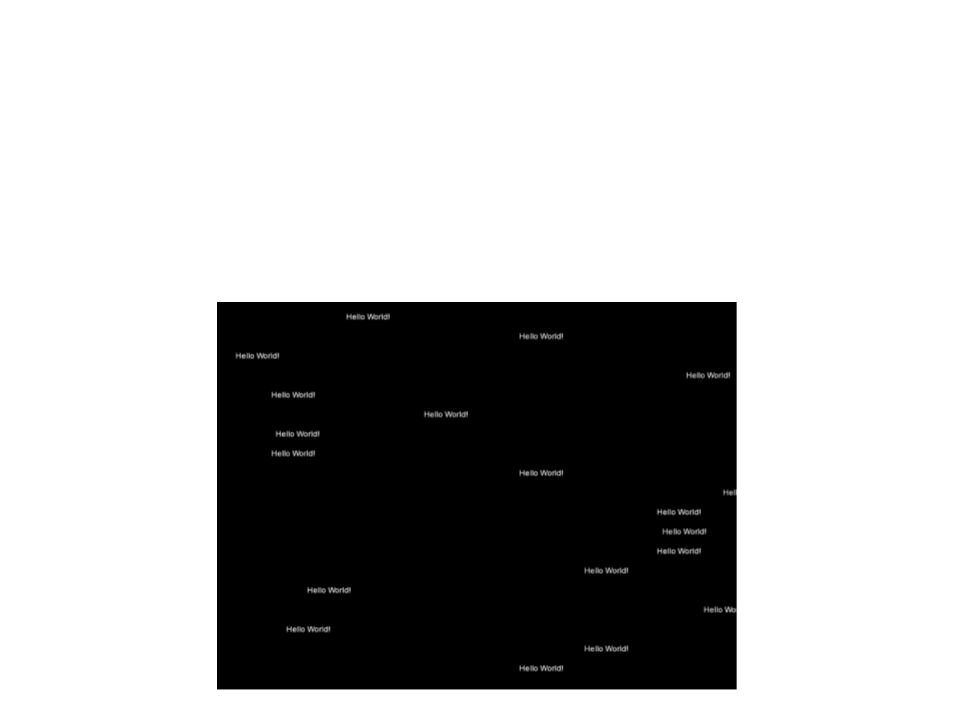
Back to the “Hello World”
•
In the last implementation of the “Hello World”, we
implemented the movement of 20 “Hello World’s”.
–
Problem: the 20 “Hello World’s” moved all together
•
How can we make the “Hello World’s” move independently of
each other?

var px = []; // array of positions in the x axis
function setup(){
createCanvas(800, 600);
fill(255, 255, 255);
for (var i = 0; i < 20; i++){
px[i] = random(0, 800);
}
}
function draw(){
background(0, 0, 0);
for (var i = 0; i < 20; i++){
px[i] = px[i] + (0.1 * deltaTime);
if (px[i] > width){
px[i] = 0;
}
}
for (var i = 0; i < 20; i++){
text("Hello World!", px[i], i * 30);
}
}
Exercise 6
6
) Modify the code of the “Hello World” in order to have each
“Hello World” moving with a different speed (randomly
chosen).
Further Reading
•
•
McCarthy, L., Reas, C., Fry, B. (2015). Getting Started
with p5.js, Maker Media. ISBN: 978-1457186776.
p5.js Reference: https://p5js.org/reference/