

Game Frameworks
Lecture 07: 2D Game User Interfaces in Unity
Edirlei Soares de Lima
<edirlei.lima@universidadeeuropeia.pt>

User Interfaces (UI)
•
Unity provides three user interface toolkits:
–
–
–
UI Toolkit: based on web technologies that support stylesheets,
dynamic and contextual event handling, and data persistence.
•
It’s still in development and is missing some features found in Unity UI and IMGUI.
Unity UI: object-based system that uses components and objects to
arrange, position, and style the user interface.
•
Cannot be use for user interfaces within the Unity Editor.
IMGUI: code-driven UI toolkit that is mainly intended as a tool for
debugging.
•
Not recommended for building the final user interface of a game or application.
Unity UI – Canvas
•
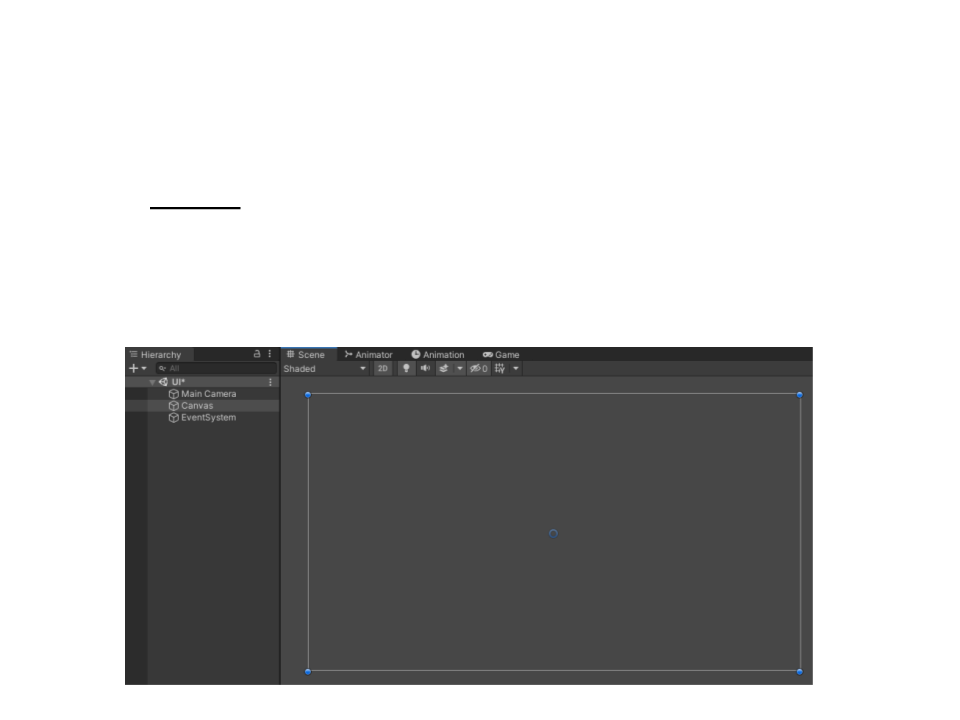
The Canvas is the area that all UI elements should be inside.
–
Canvas is a Game Object with a Canvas component on it, and all UI
elements must be children of a Canvas.
–
Creating a new UI element, automatically creates a Canvas.
Unity UI – Visual Components
•
•
Text:
–
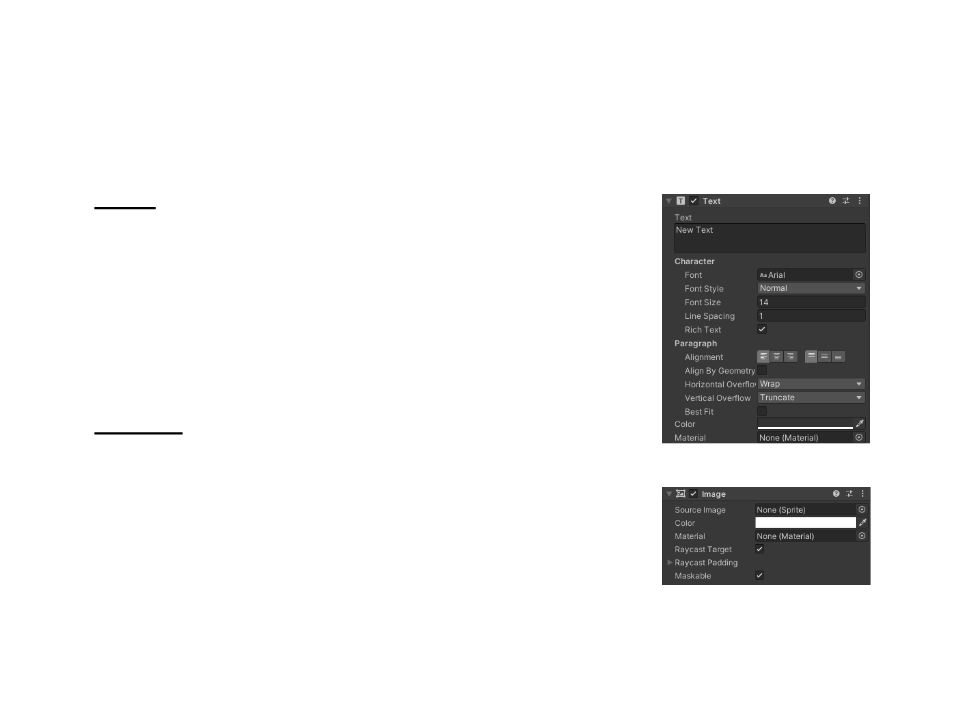
The Text component has a text area for
entering the text that will be displayed.
–
It is possible to set the font, font style,
font size, etc.
Image:
–
A sprite can be applied to the Image
component under the Source Image
property.
Unity UI – Interaction Components
•
Button:
–
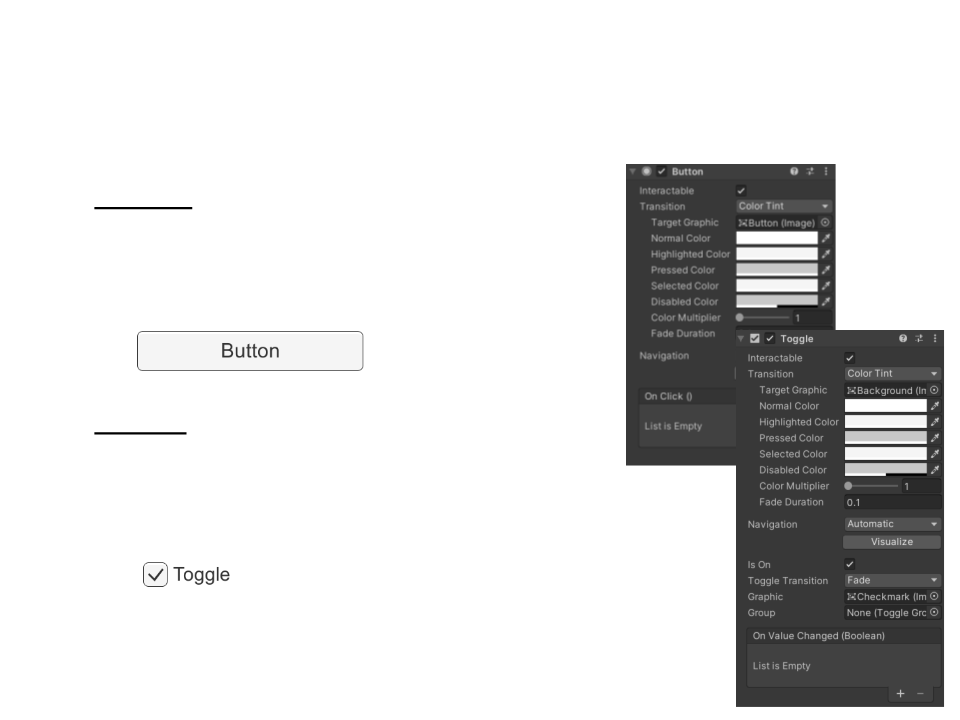
The Button control responds to a click
from the user and is used to initiate or
confirm an action.
•
Toggle:
–
The Toggle control is a checkbox that
allows the user to switch an option on or
off.
Unity UI – Interaction Components
•
Toggle Group:
–
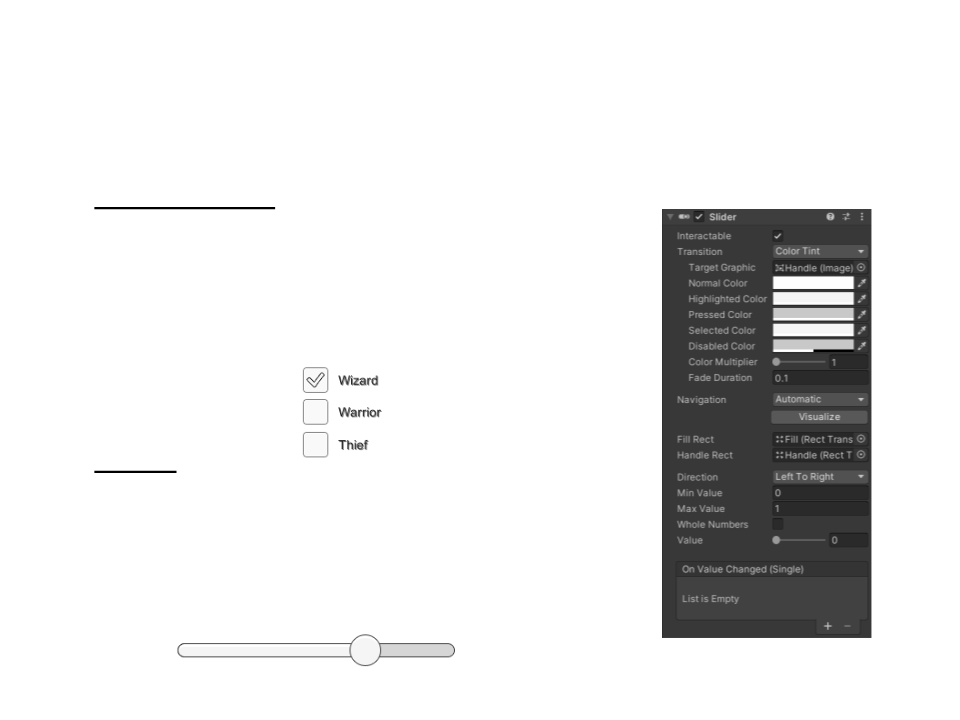
A Toggle Group is used to modify the
behavior of a set of Toggles.
–
Pressing a Toggle of a Group to switch it
on automatically switches the others off.
•
Slider:
–
The Slider control allows the user to
select a numeric value from a
predetermined range by dragging the
mouse.
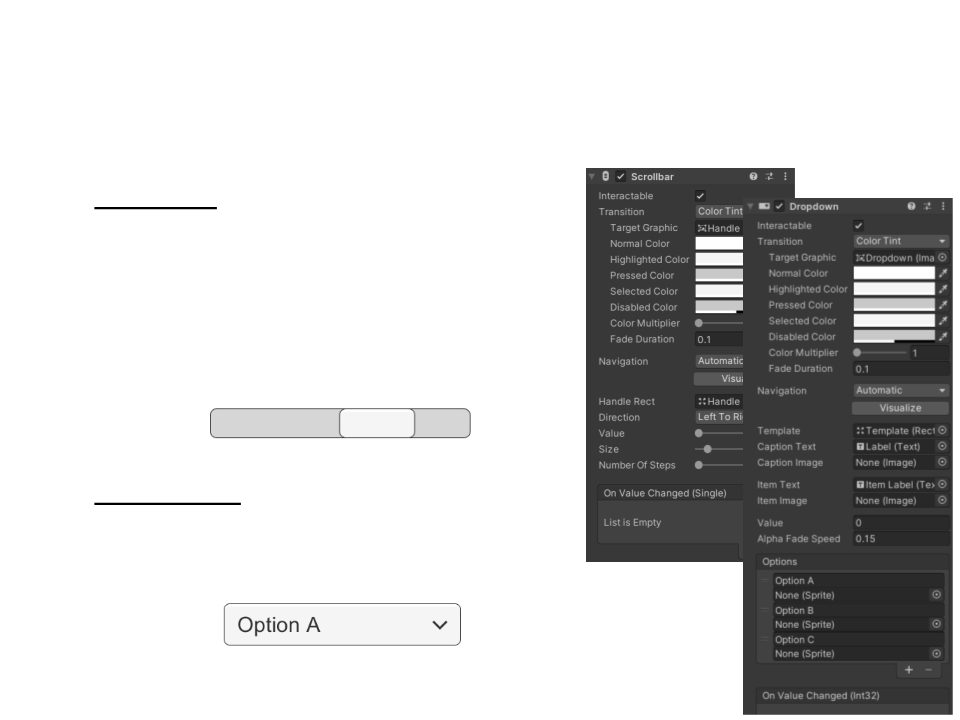
Unity UI – Interaction Components
•
Scrollbar:
–
A Scrollbar has a decimal number Value
between 0 and 1.
–
Scrollbars are often used together with a
Scroll Rect and a Mask to create a scroll
view.
•
Dropdown:
–
A Dropdown has a list of options to
choose from.
Unity UI – Interaction Components
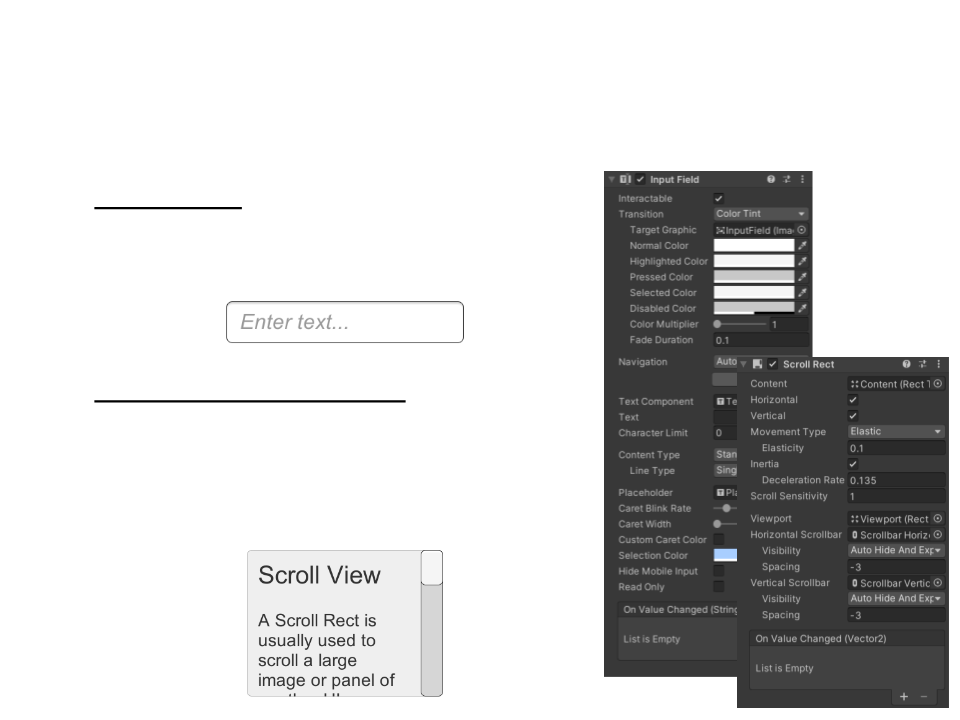
•
Input Field:
–
Used to make the text of a Text Element
editable by the user.
•
Scroll Rect (Scroll View):
–
Used when the content takes up a lot of
space and needs to be displayed in a
small area. The Scroll Rect allows users to
scroll over the content.
Unity UI – Events
•
Unity includes an event system that communicates user
interactions to visual elements.
–
There are two ways to make a visual element react to an event:
•
By implementing and registering a function through the inspector;
•
By implementing and registering a function through code;
–
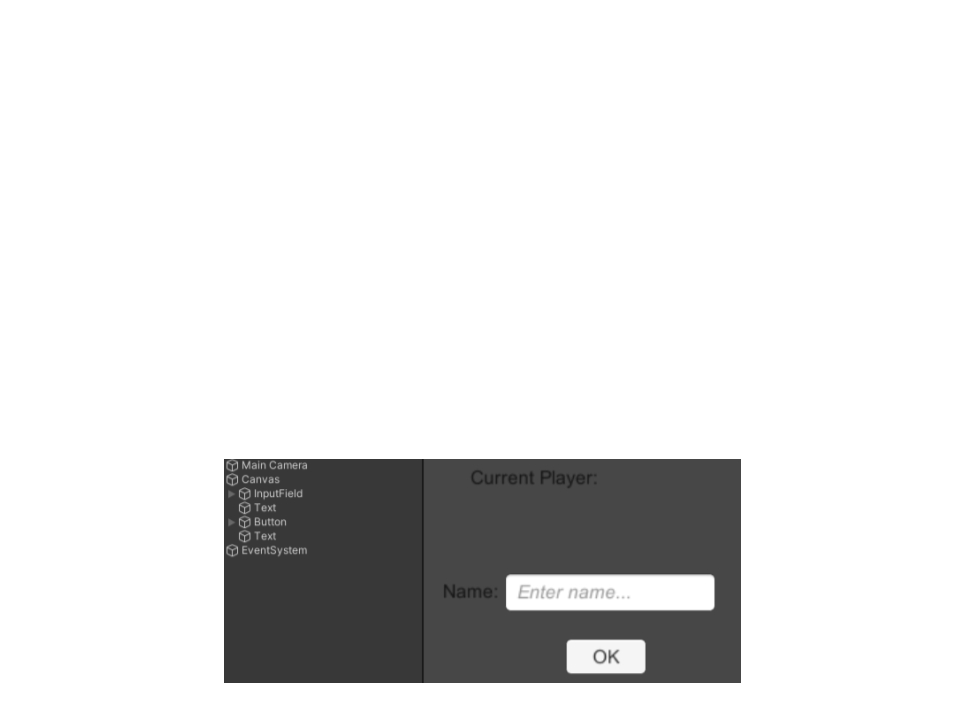
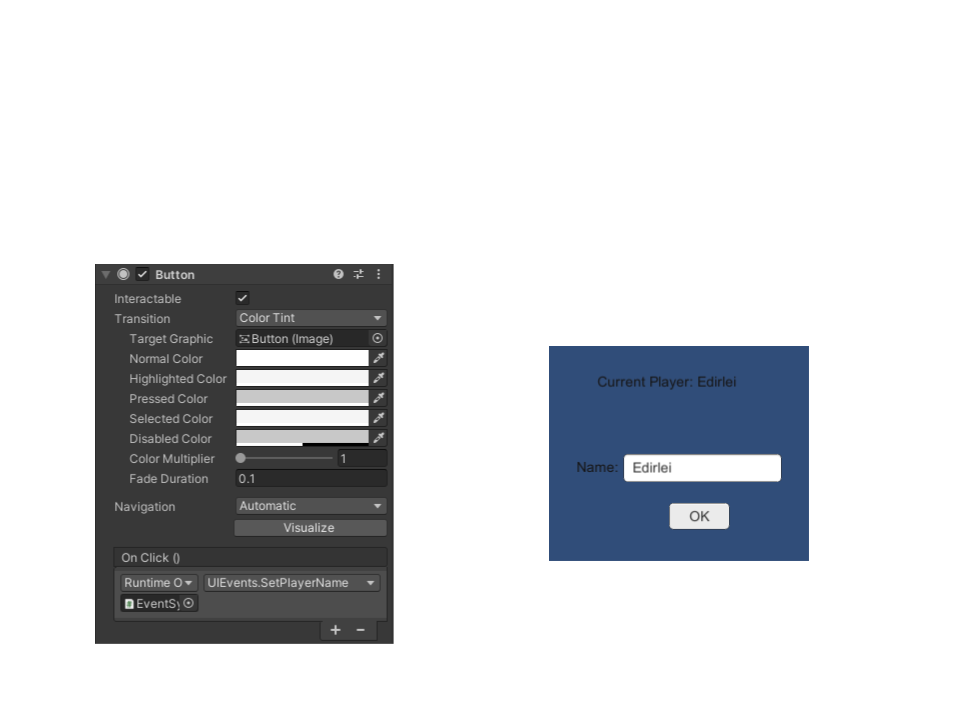
Example 1: registering the function through the inspector
•
UI:
Unity UI – Events
•
Example 1: registering the function through the inspector
–
Event implementation:
public class UIEvents : MonoBehaviour
{
public Text playerNameText;
public InputField playerNameInput;
public void SetPlayerName()
{
playerNameText.text = "Current Player: " + playerNameInput.text;
}
}
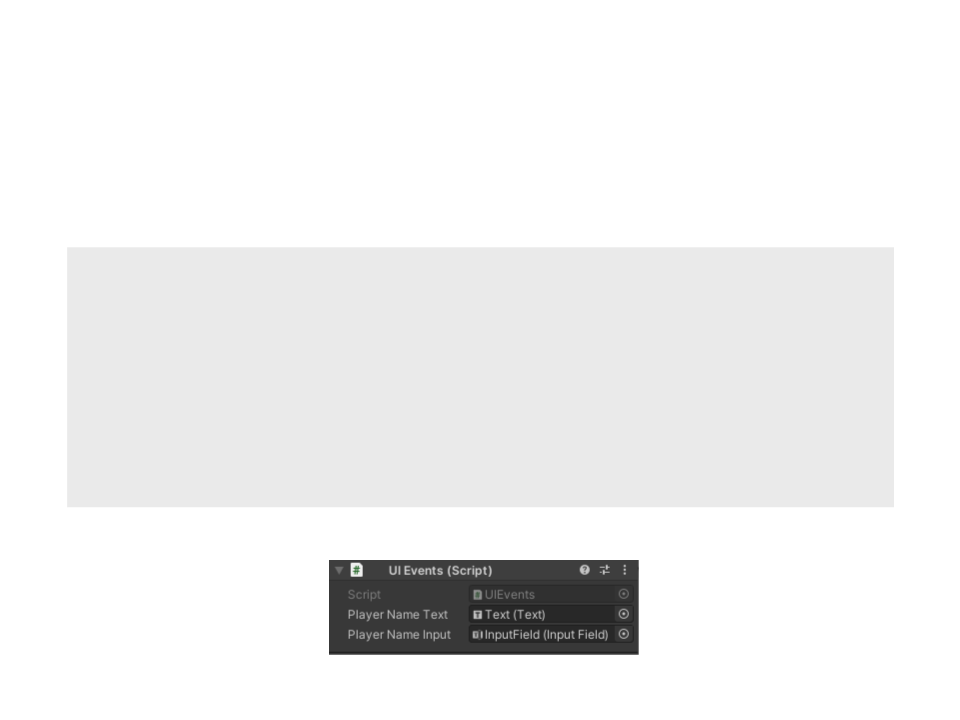
–
Add the script to a GameObject (e.g. EventSystem) and set the properties:
Unity UI – Events
•
Example 1: registering the function through the inspector
–
Select the object and the event function:

Unity UI – Events
•
Example 2: implementing and registering a function through code.
public class UIEvents2 : MonoBehaviour
{
public Text playerNameText;
public InputField playerNameInput;
void Start()
{
Button button = GetComponent<Button>();
button.onClick.AddListener(SetPlayerName);
}
public void SetPlayerName()
{
playerNameText.text = "Current Player: " + playerNameInput.text;
}
}

Instantiate UI Components by Code
•
All UI components can be instantiated by code.
–
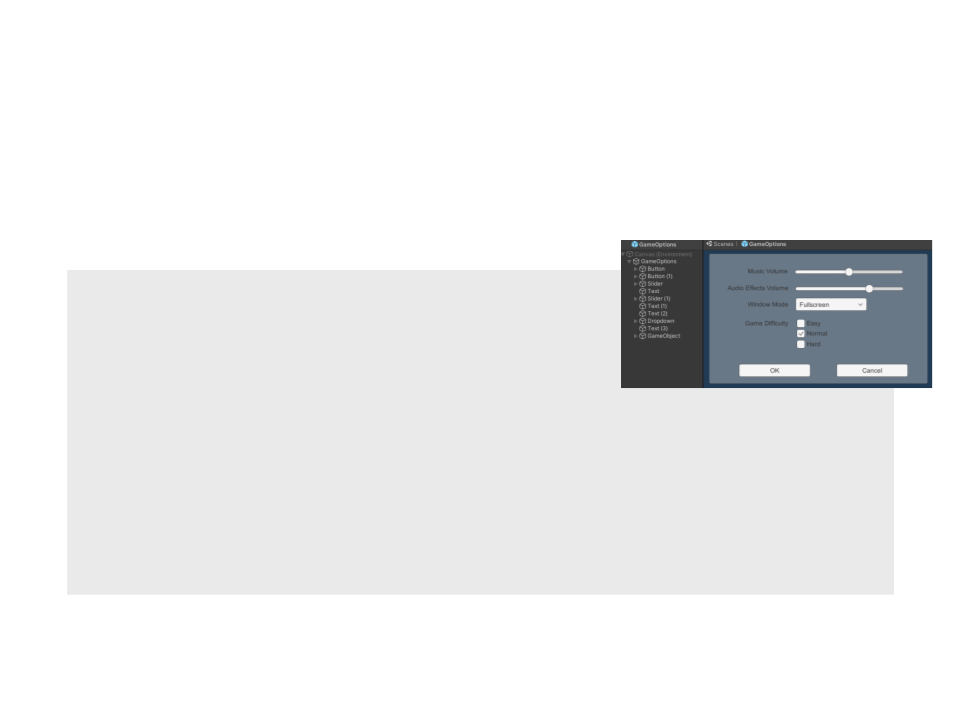
Example 1: Instantiate a text component
public class InstantiateUI : MonoBehaviour
{
public Canvas canvas;
public Font font;
void Start()
{
GameObject textObj = new GameObject();
textObj.name = "TestText";
textObj.transform.SetParent(canvas.transform);
Text text = textObj.AddComponent<Text>();
text.text = "My Text";
text.font = font;
text.fontStyle = FontStyle.Bold;
text.rectTransform.anchoredPosition = new Vector3(0, 0);
}
}
Instantiate UI Components by Code
•
All UI components can be instantiated by code.
–
Example 2: Instantiate a Prefab UI:
public class InstantiateUI2 : MonoBehaviour
{
public Canvas canvas;
public Font font;
public GameObject optionsUIPrefab;
void Start()
{
GameObject optionsUI = GameObject.Instantiate(optionsUIPrefab,
canvas.transform, false);
optionsUI.GetComponent<RectTransform>().anchoredPosition = new
Vector3(0, 0, 0);
}
}
Exercise 1
1
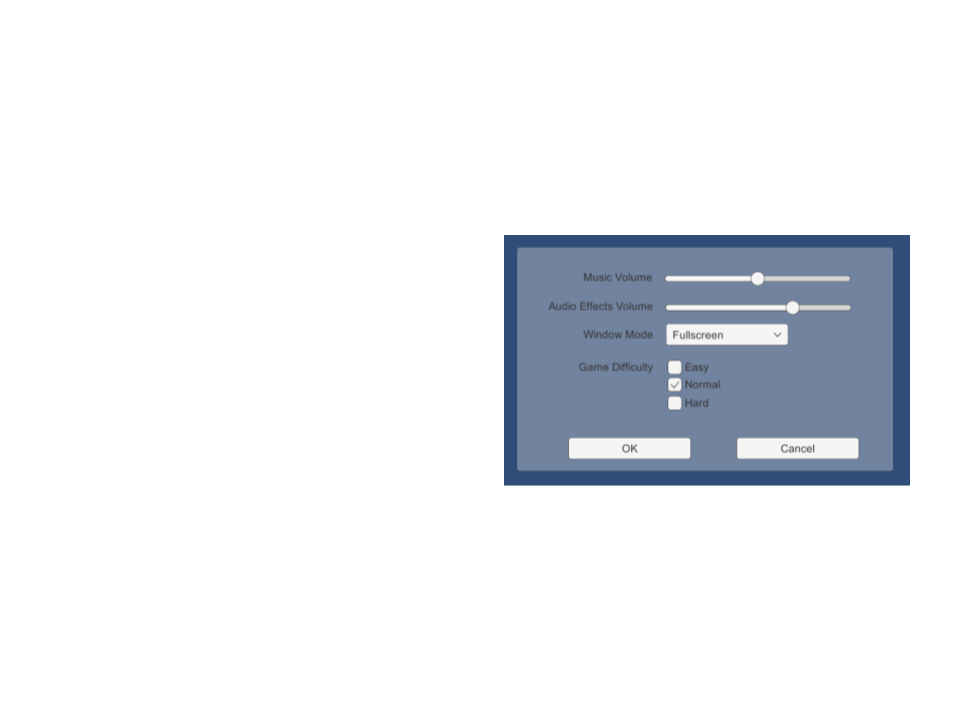
) Create and implement the interaction for the following form:
•
When the player press “OK”, all the
selected options must be displayed
in a debug message.
•
Use the Debug.Log function
•
•
Only one option can be selected
for the game difficulty.
•
Use a Toggle Group.
When the player changes the
Window Mode, the game must
enter/exist the fullscreen mode.
•
Use the Screen.fullScreen property.
•
The form must disappear when the
player press “OK” or “Cancel”.

Further Reading
•
Unity User Manual, Available at: https://docs.unity3d.com/2020.1/
Documentation/Manual/
–
User interfaces (UI)
•
•
•
•
•
•
Unity UI
Canvas
Basic Layout
Visual Components
Interaction Components
Designing UI for Multiple Resolutions
•
Books
–
Jeremy G. (2017). Introduction to Game Design, Prototyping, and
Development: from the Concept to Playable Game - with Unity and C# (2nd
ed.). Boston, MA: Addison-Wesley Professional. ISBN: 978-0134659862
–
Hocking, J. (2018). Unity in Action: Multiplatform Game Development in C#
(
2nd ed.). Shelter Island, NY: Manning Publications. ISBN: 978-1617294969